Posted on

Porsche Macan Bose to Burmester Upgrade

Porsche Burmester SubwooferUpgrade

Today we’re looking at the process for upgrading the original Bose speakers to the much higher-end Burmester speakers.

This is a follow-up from our driver comparison where we compared the physical and electrical differences between each speaker level Porsche offers.

The Burmester speakers are the same form factor as Bose (with the exception of the dash tweeters) so performing the upgrade is fairly straightforward – especially when using our plug-and-play Bose to Burmester wiring adapters.

Let’s dig in and see what this looks like.

Front Door

We’re starting with the front door woofers. Removing the panels is fairly straightforward, and in the Macan entails popping off the upper trim (carbon fiber in this case), the lower light housing, and smooth black plastic piece behind the door latch – then removing the 3 bolts. The panel then lifts off and you can disconnect 2 wire harnesses and the door handle cable.

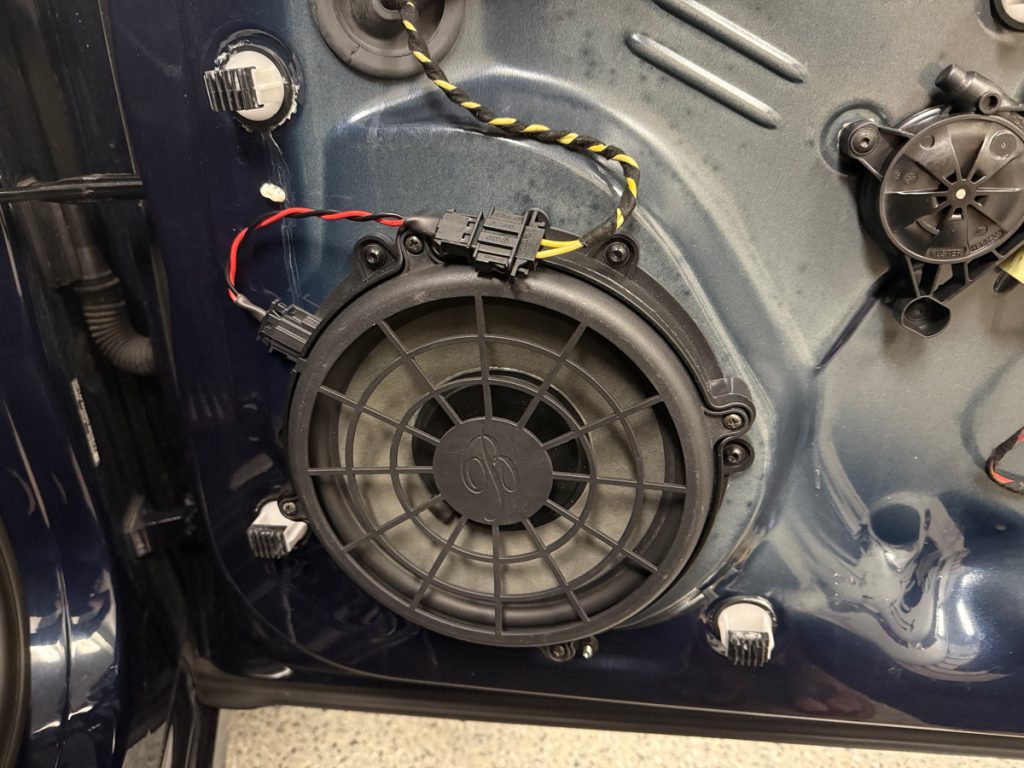
Once removed, there is clear access to the stock Bose woofer.
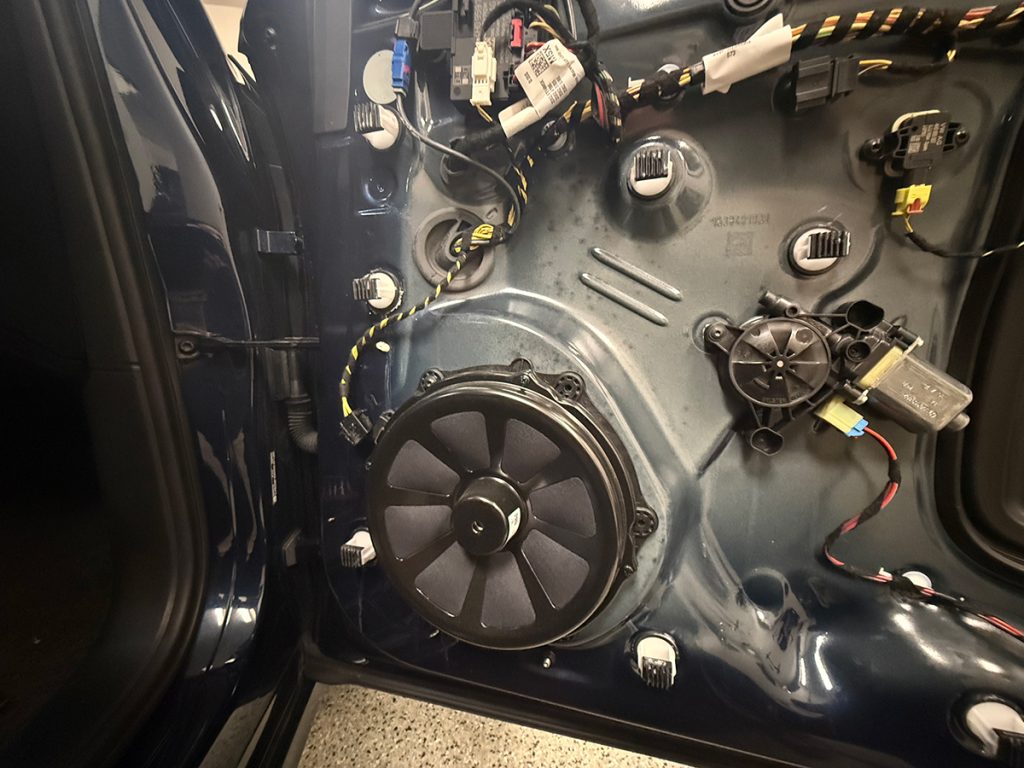
Porsche Bose Front Door Woofer

With just a few bolts, the Bose unit is removed and replaced with Burmester. The Bose to Burmester woofer wiring adapters provide a clean plug-and-play installation.
Porsche Burmester Front Door Woofer Upgrade

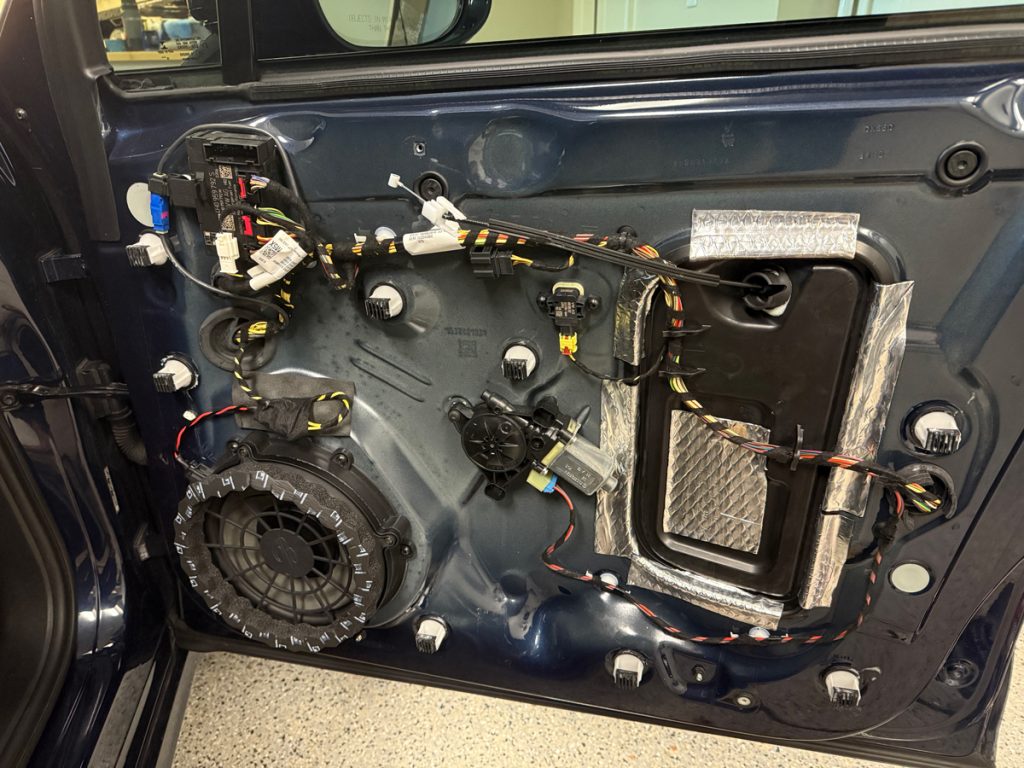
While the door is apart it makes some sense to add a bit of sound dampening to avoid any potential issues. In the case of the Macan, there is a fair amount of noise coming from the edges where the rectangular plastic insert connects with the metal door panel. Adding some Noico butyl sound deadening material eliminated virtually all of this. The wire connectors were secured with fabric tape with a small amount of foam behind.

Soundskins foam rings were added around the leading edge of the speaker itself. The goal is to direct the sound out towards the grill, and limits the sound going sideways which can resonate the door panel. It also helps reduce any door panel vibrations direction in front of the speaker.
Porsche Burmester Front Door Woofer Upgrade

Front Door Midrange

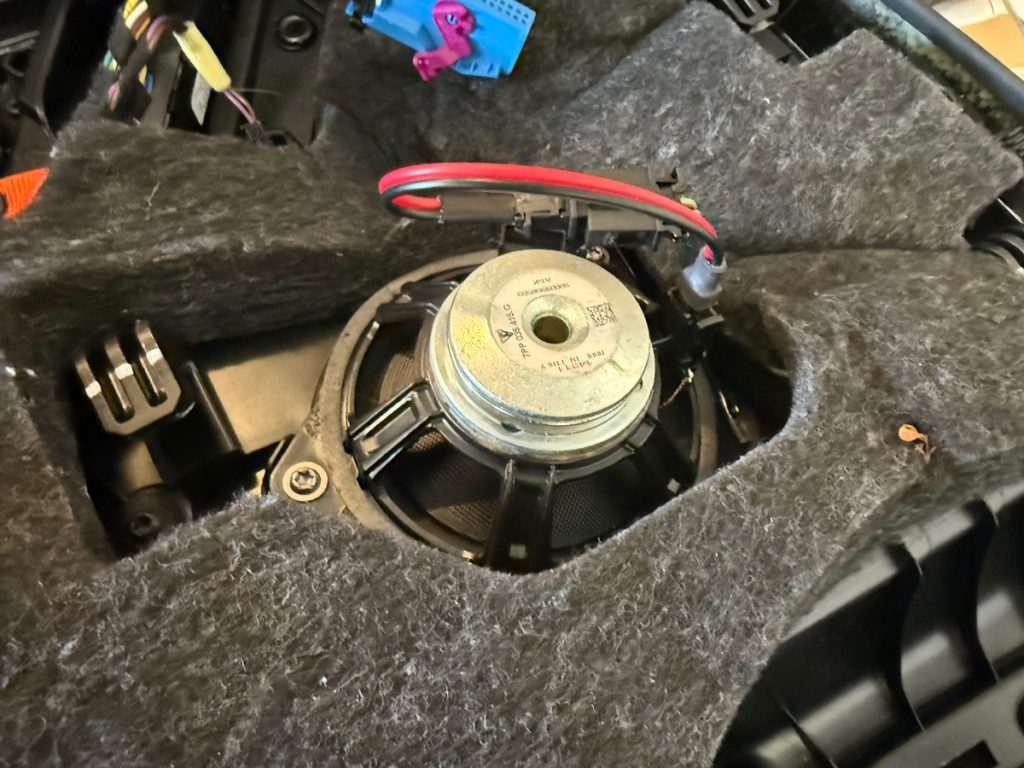
The front midrange speaker is attached to the door trim itself. There are 2 bolts here and the new Burmester mid is secured into place. Like the woofers, the Bose to Burmester midrange wiring adapters were also wrapped in cloth tape and secured.
Porsche Burmester Front Door Midrange Speaker Upgrade

Rear Door Woofers

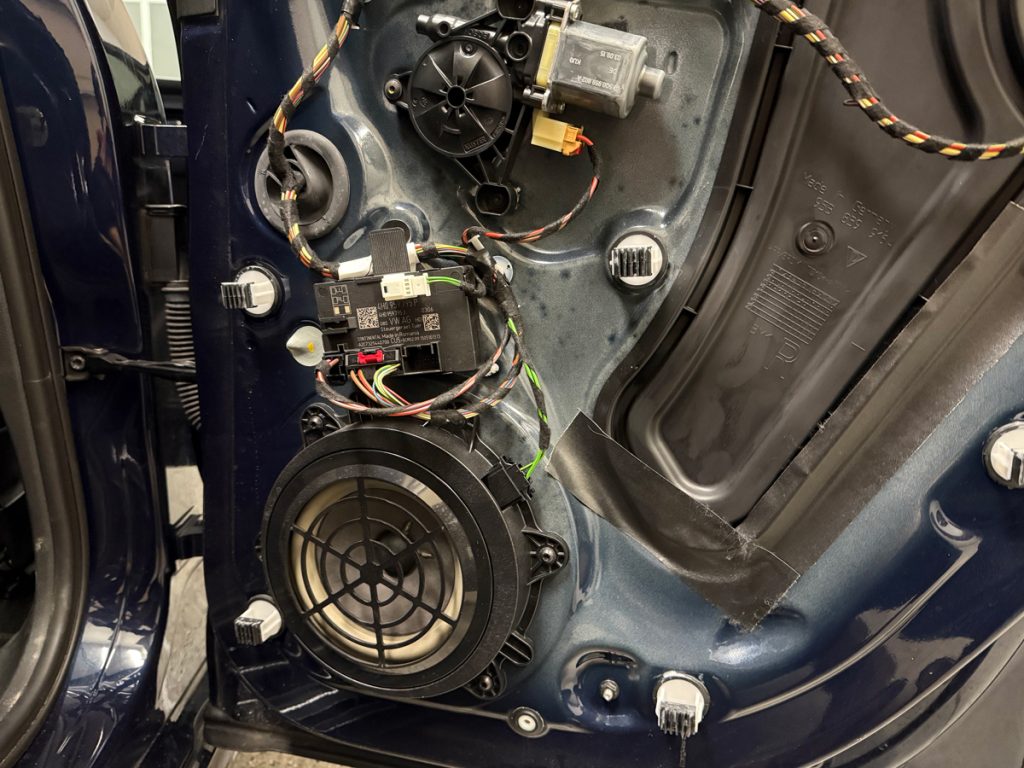
On to the rear! These are mounted in a similar fashion as the front woofer and Porsche has thoughtfully added some black tape at the factory to reduce some of the noise from the black plastic panel. It’s interesting they have this here but not in front. 🤔
Porsche Bose Rear Door Woofer

A few bolts and the Burmester woofer is in place and the wiring connected with the Bose to Burmester woofer wiring adapters.
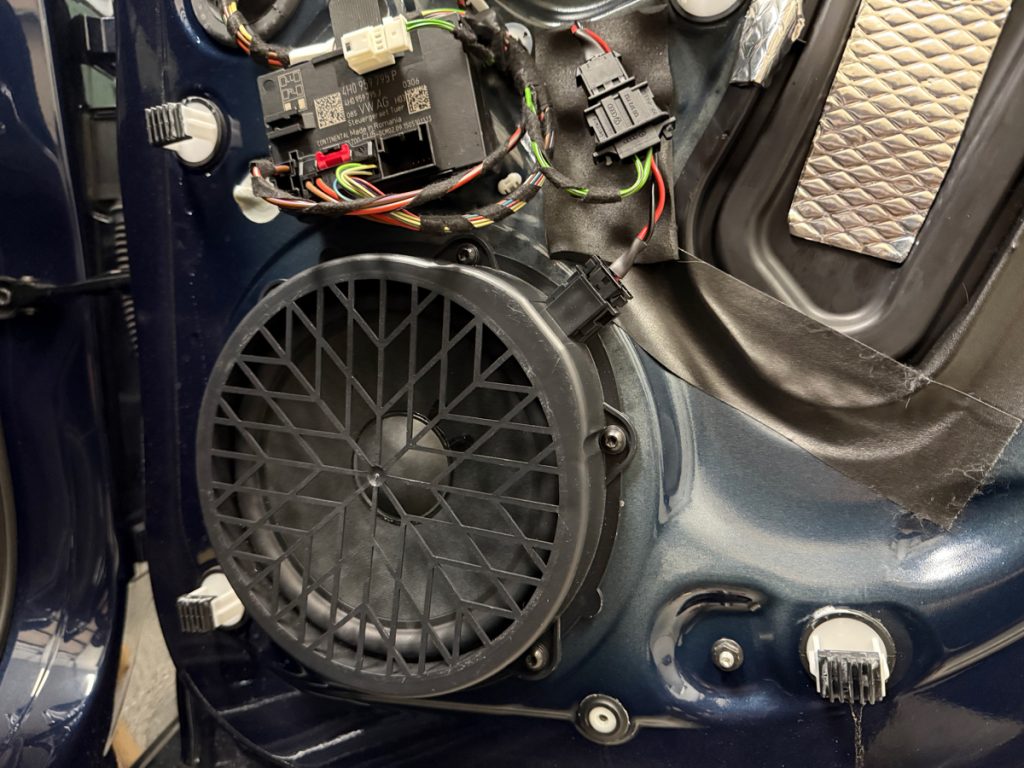
Porsche Burmester Rear Door Woofer Upgrade

Just like the front some sound deadening was added to ensure things stay rattle-free.
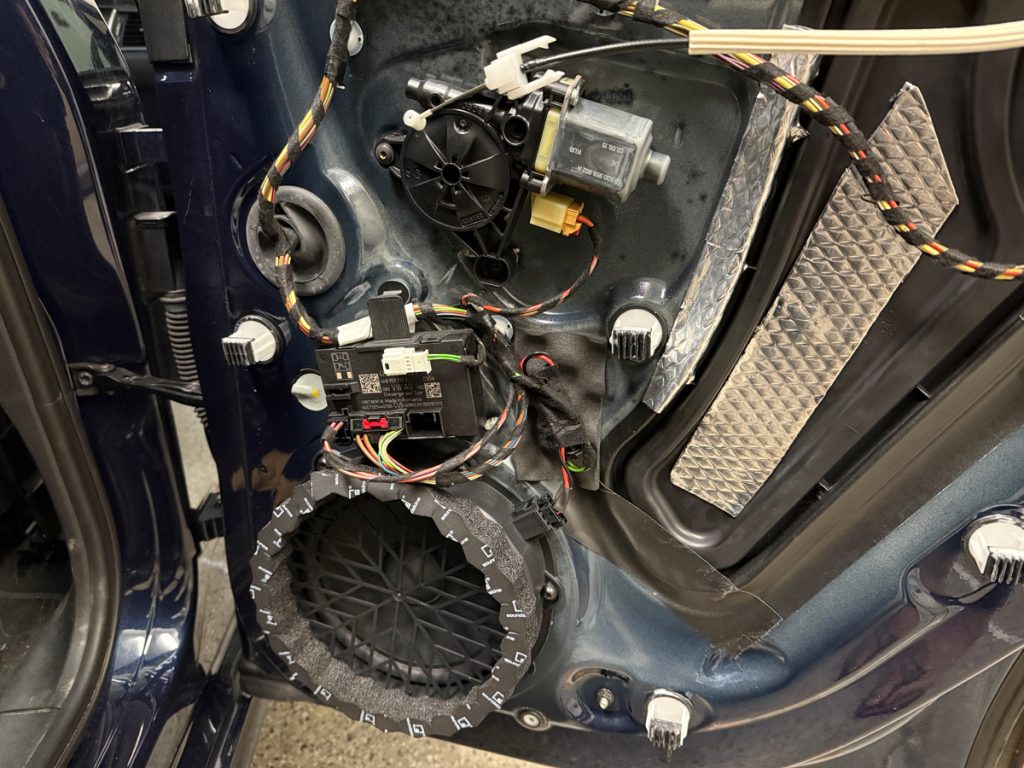
Porsche Burmester Rear Door Woofer Upgrade

Rear Door Tweeters

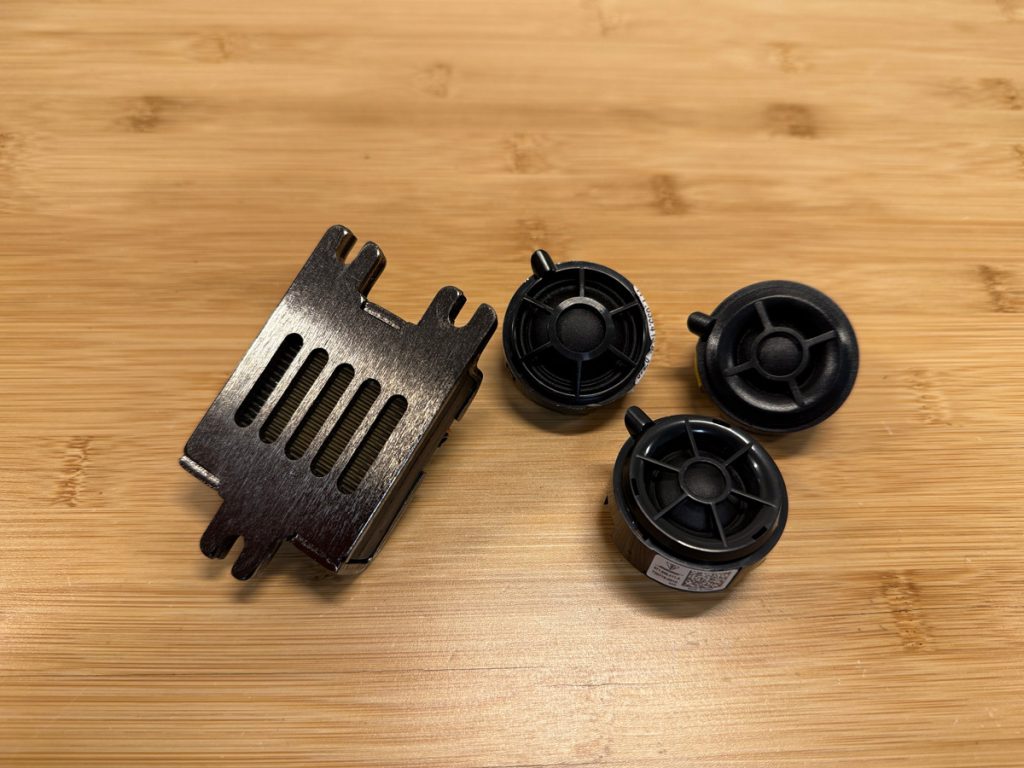
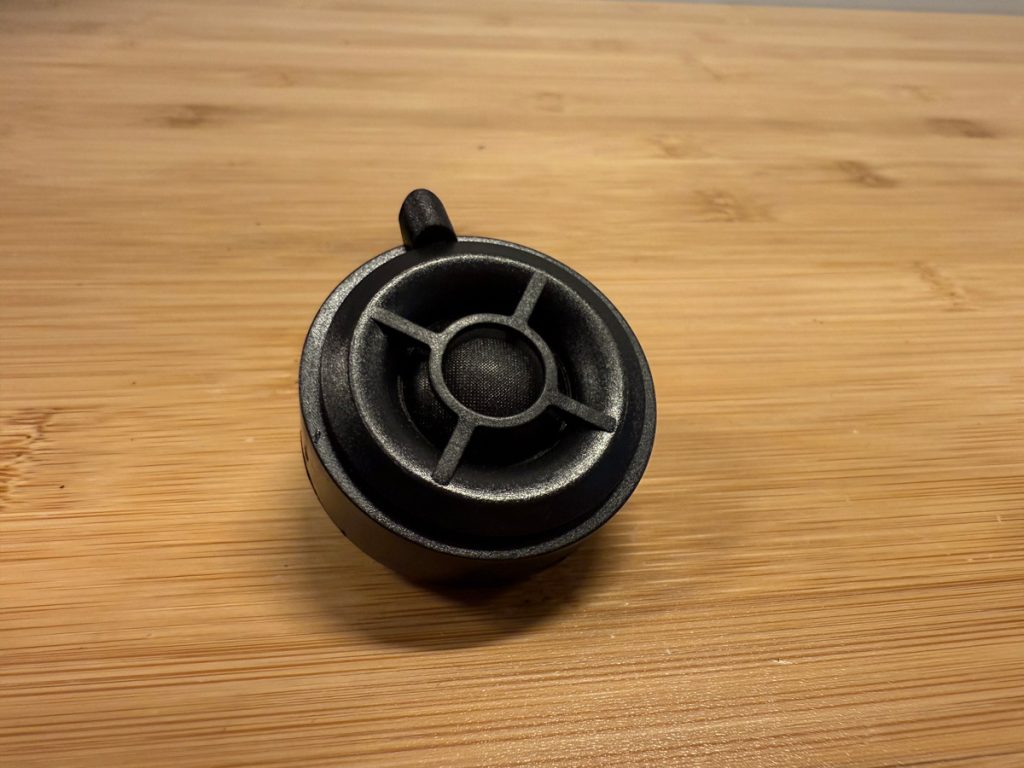
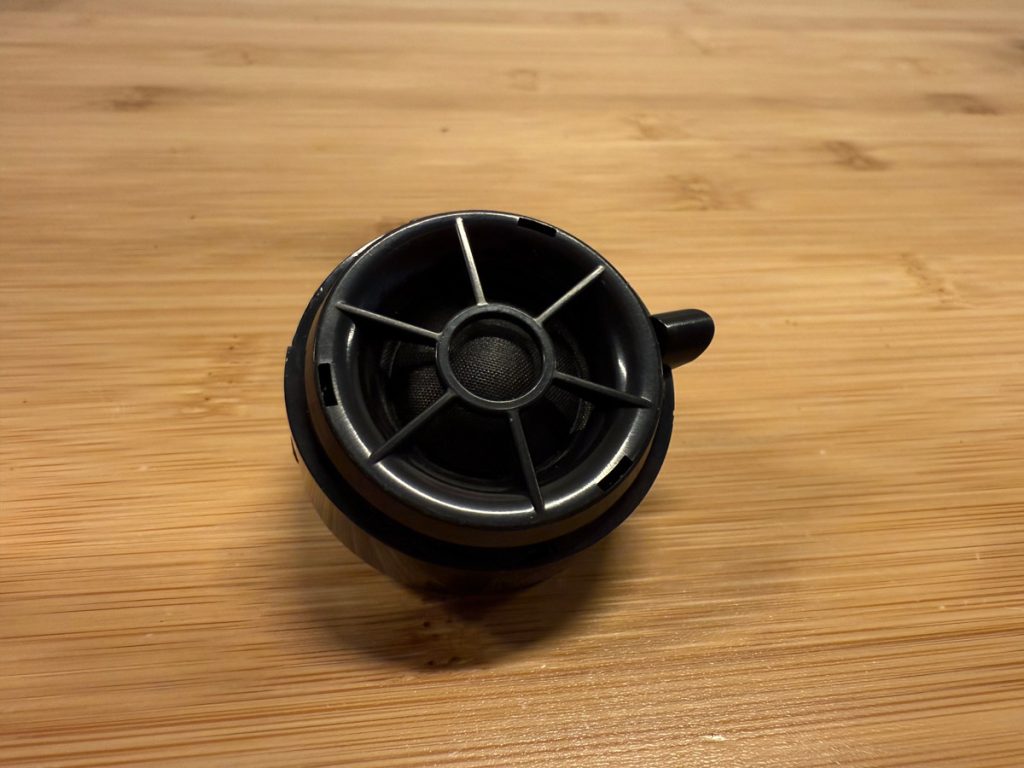
The rear door tweeters use the round Burmester tweeters, which have the same case size as Bose. However, the actual driver inside the Burmester tweeter is about 25% larger. When installing these, be sure to make the wiring connections before snapping the tweeters into place as it can get a little cozy.

Since this is a 2016, the tweeter is wired on the same channel as the rear door woofer, so we are using the Bose to Burmester tweeter wiring adapters with Mundorf crossover to ensure the lower frequencies are filtered out before reaching the tweeter.
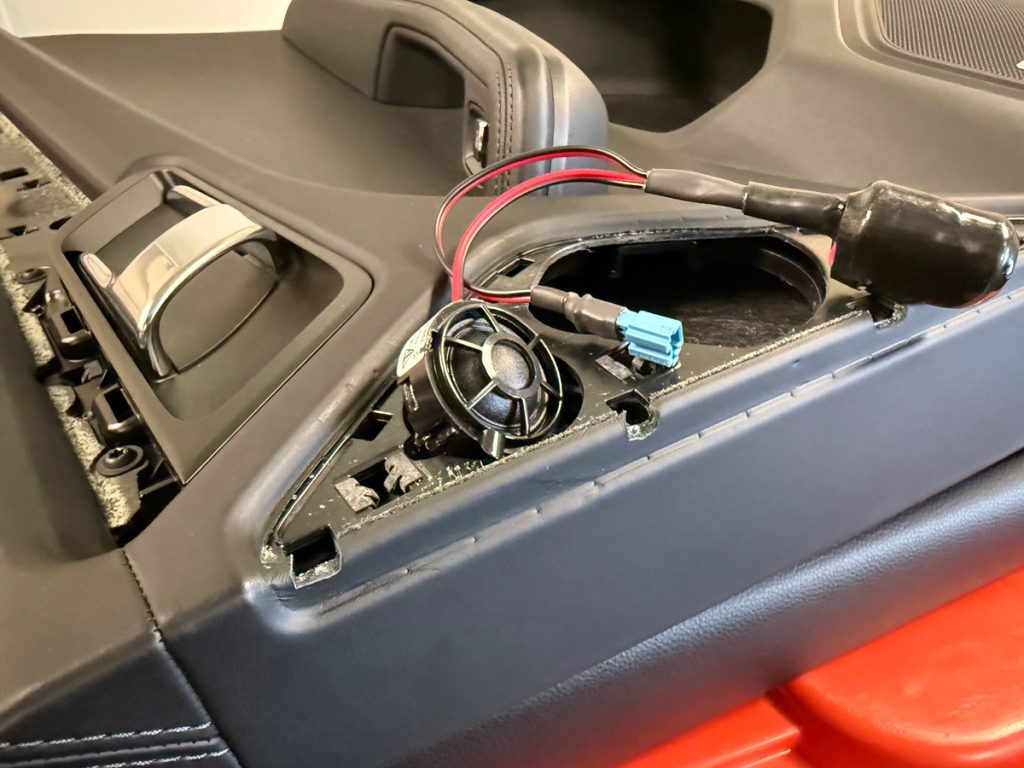
Porsche Burmester Rear Door Tweeter Upgrade

Once the tweeter is in place the wiring harness and crossover are secured to the backside of the door panel to avoid any rattling.
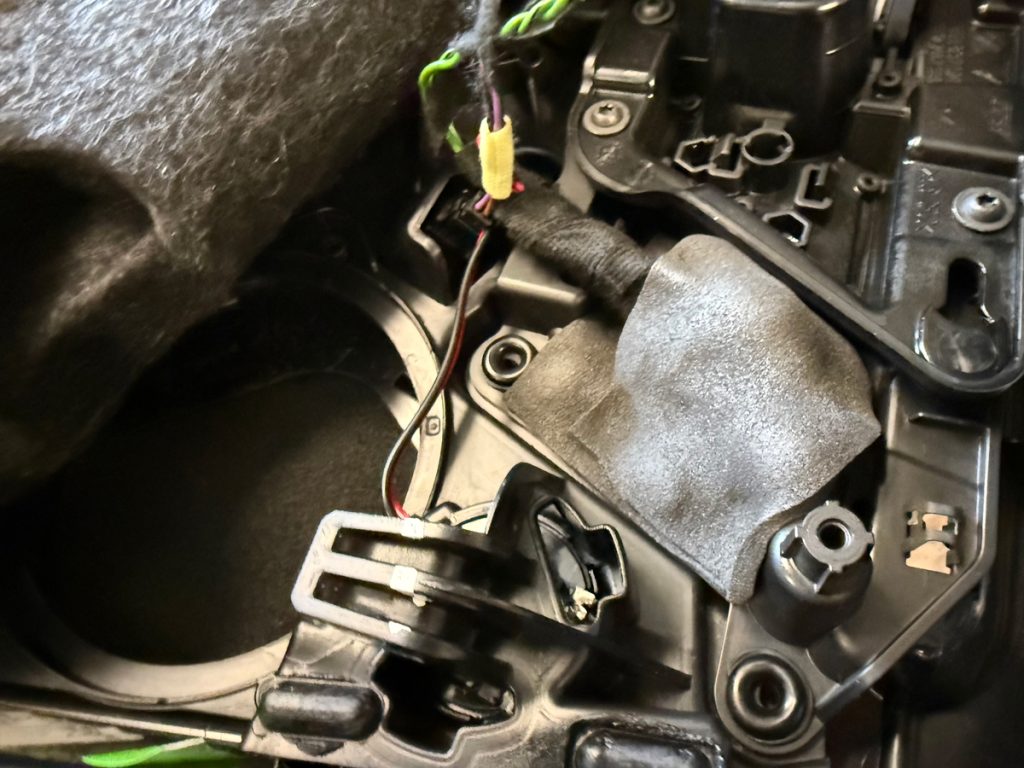
Porsche Burmester Rear Door Tweeter Upgrade

Front Dash Tweeters

On to the fun part…front tweeters!

Installing these requires a permanent modification to the dashboard frame. If this isn’t your cup of tea the same round Burmester tweeters installed in the rear can be used here, which will be a drop in replacement for the Bose (or Base) tweeters.

But this is a full-on Burmester upgrade…so it’s time to get cutting!
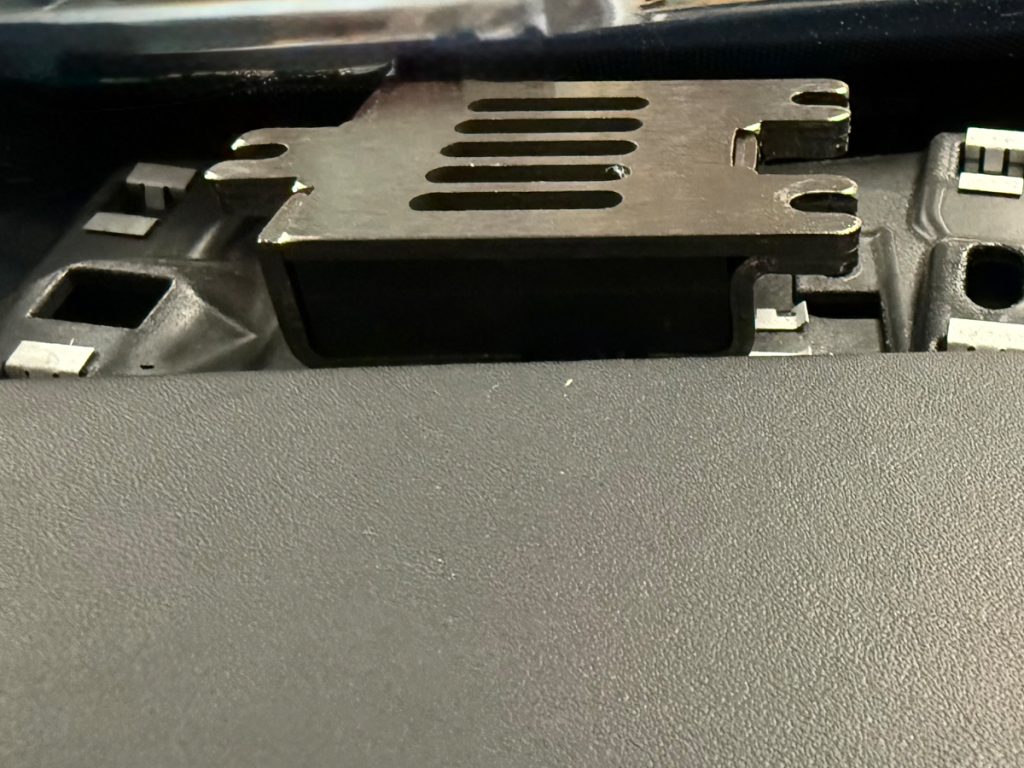
Porsche Burmester AMT Dashboard Tweeter Upgrade

From the factory, cars with Bose have an extra plastic insert which cars with Burmester do not have.

The insert is secured in place with small tabs which can be cut with a utility knife for a clean install. After a bit of trial and error, the easiest method for removal was to use a sharp utility knife and cut the tabs on the forward side. Once this was done, the insert can be pushed downward to break the remaining tabs.

It’s ok if the insert comes out in multiple pieces, as it is no longer needed.
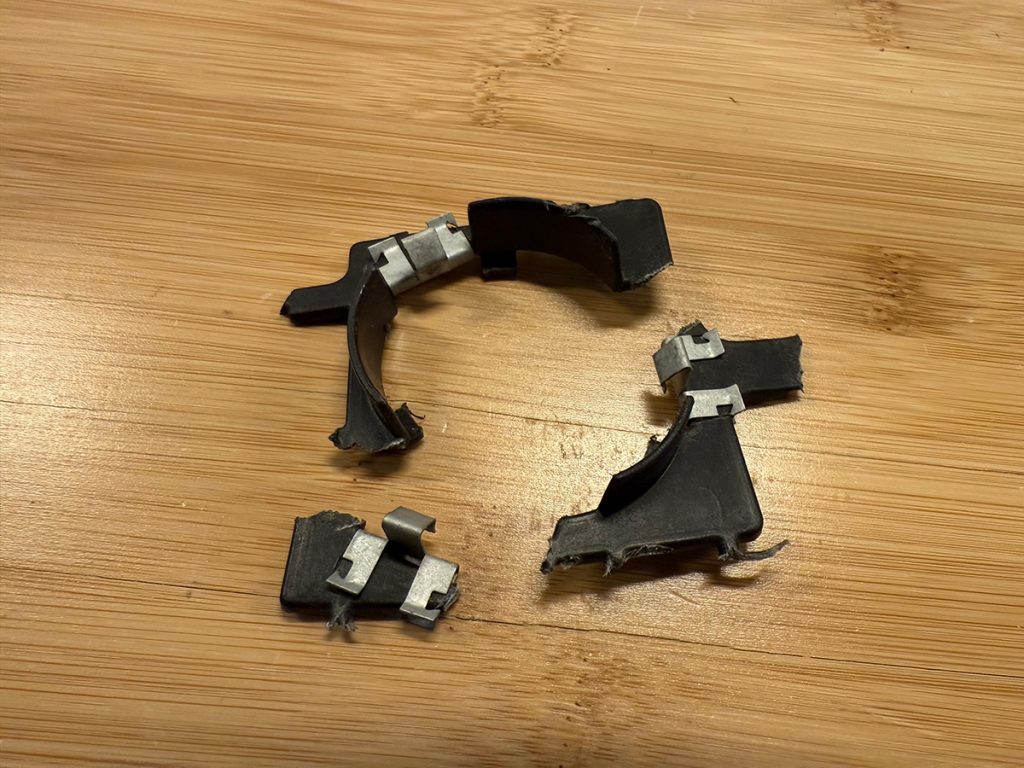
Porsche Burmester AMT Dashboard Tweeter Upgrade

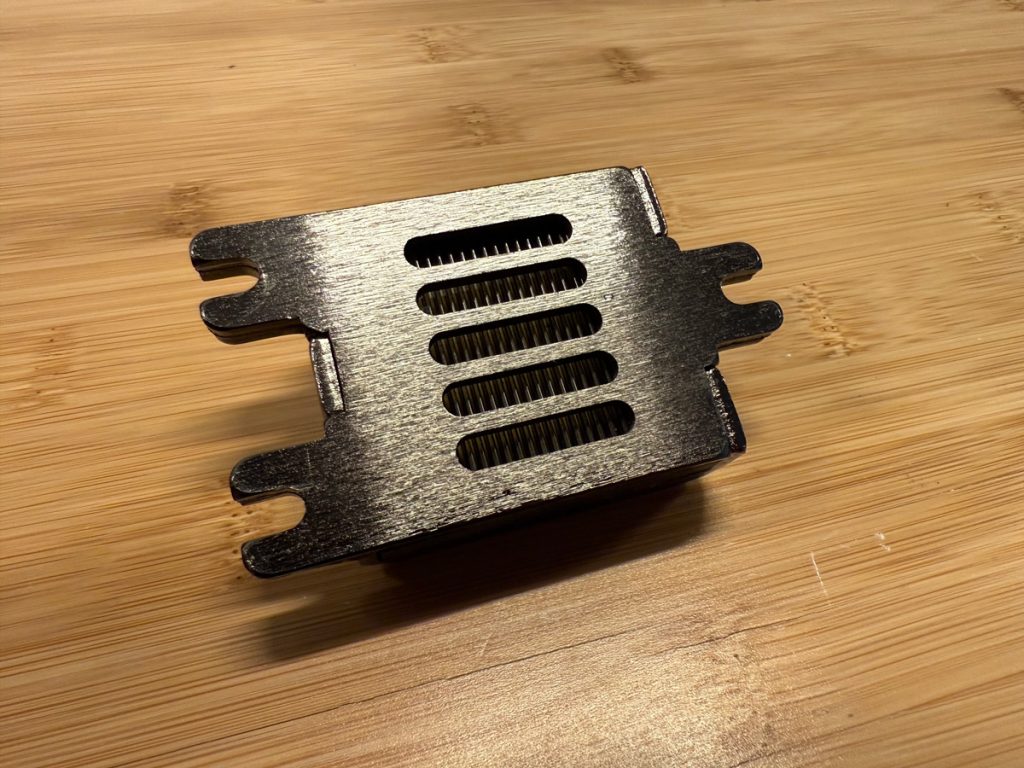
With the insert removed we are left with a hole perfectly sized for the Burmester AMT tweeter.
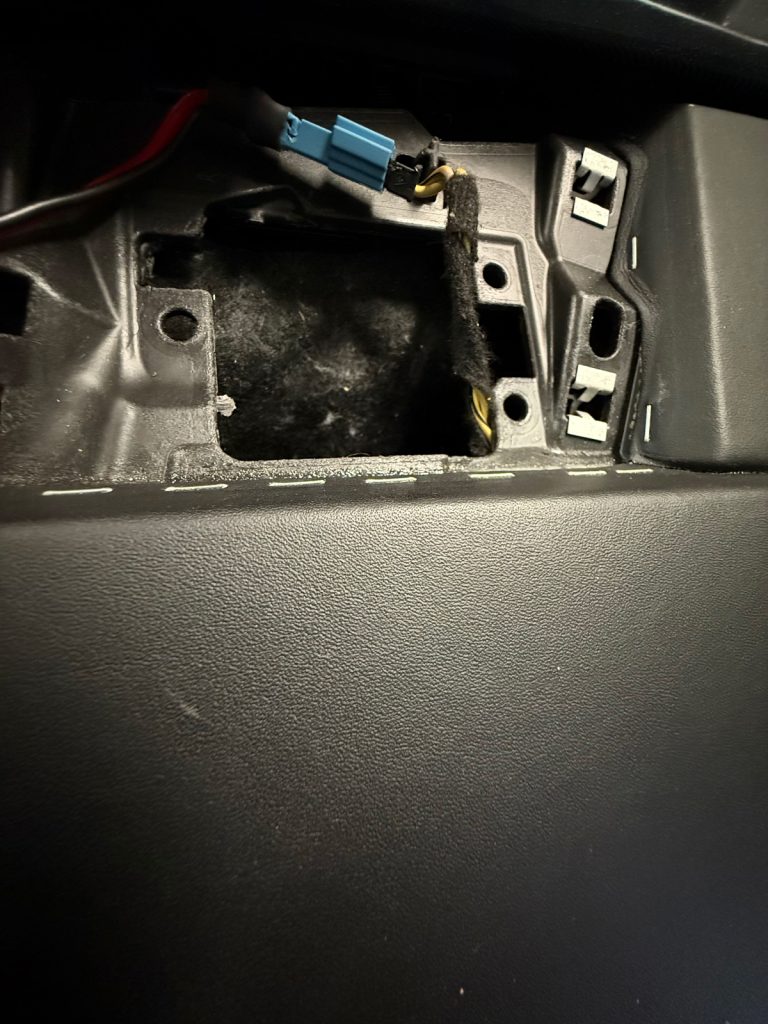
Porsche Burmester AMT Dashboard Tweeter Upgrade

Time to connect the wiring and wrap things in tape to avoid rattles. Like the rear, the front tweeters are wired on the same channel as the front midrange speakers, so we are using the Bose to Burmester tweeter wiring adapters with Mundorf crossover to filter out low frequencies.
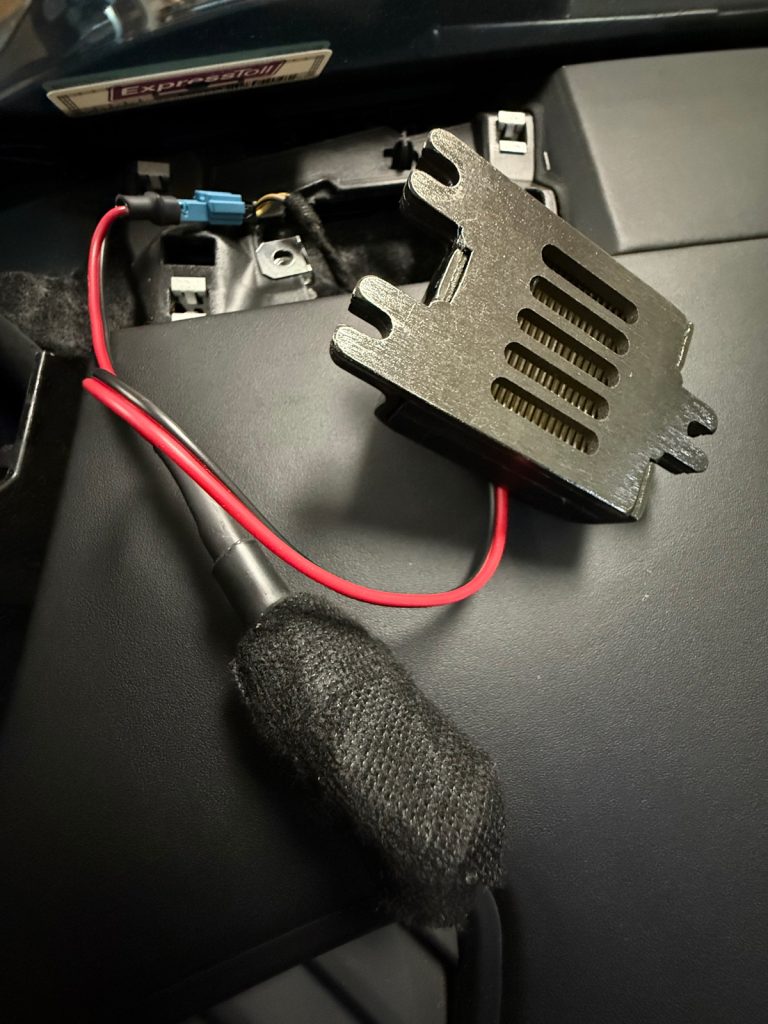
Porsche Burmester AMT Dashboard Tweeter Upgrade

The tweeter is then secured using OEM speed clips and bolts. Just like it came from the factory! 🤩
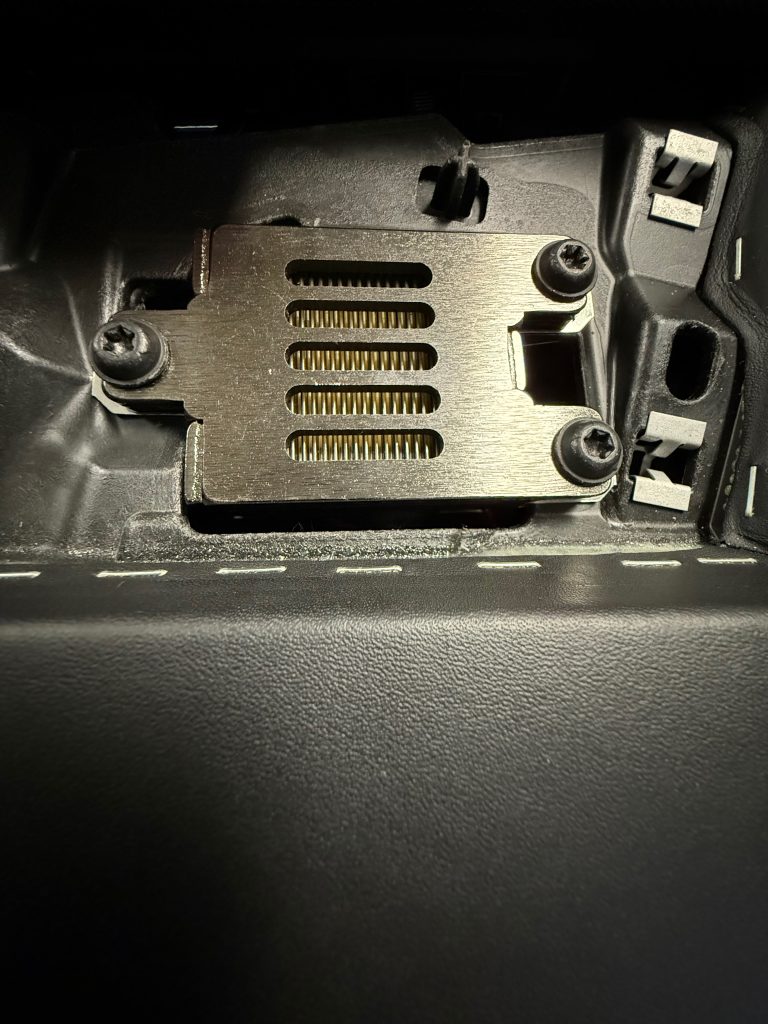
Porsche Burmester AMT Dashboard Tweeter Upgrade

Front Dashboard Center

While we’re up front, we can swap the center as well. To access this on the Macan, simply push back on the clock face while gently prying the front edge of the trim (if you have a leather dash you may consider using blue painters tap to avoid any scuffs) and the cover comes right off.

Note: Once the cover is lifted about an inch up, there are 2 vertical tabs you need to press outward so the cover can be fully removed.
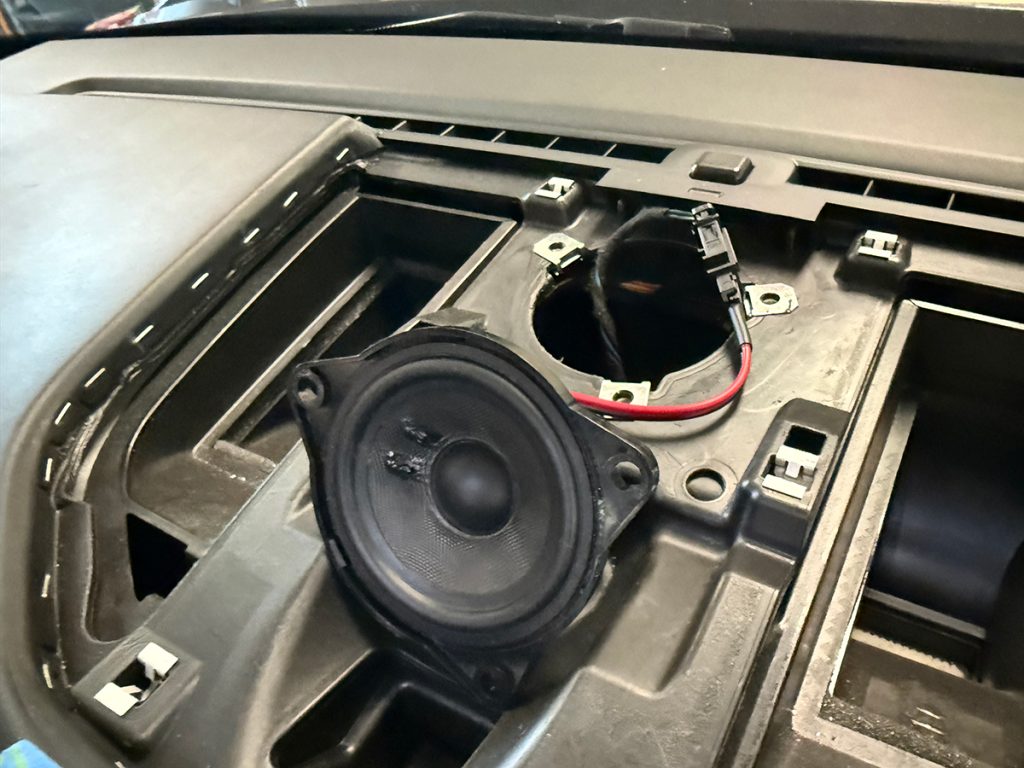
Porsche Burmester Center Dashboard Speaker Upgrade

Rear Subwoofer

We’re getting close to the end, and what’s left…oh yes the Burmester sub!

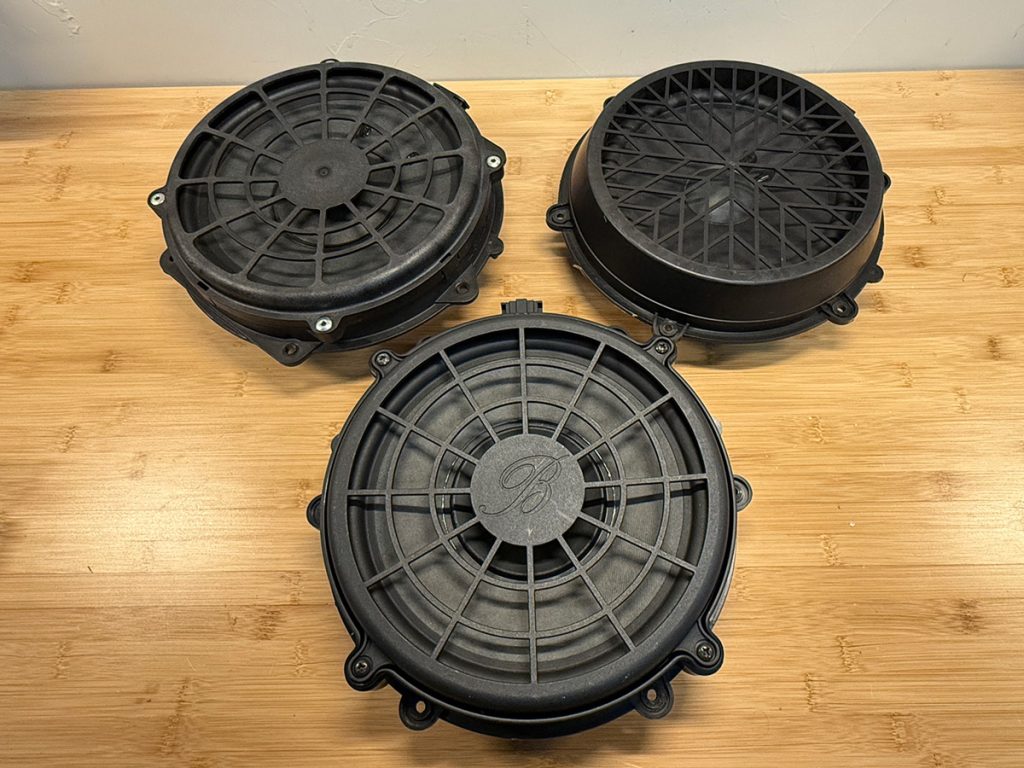
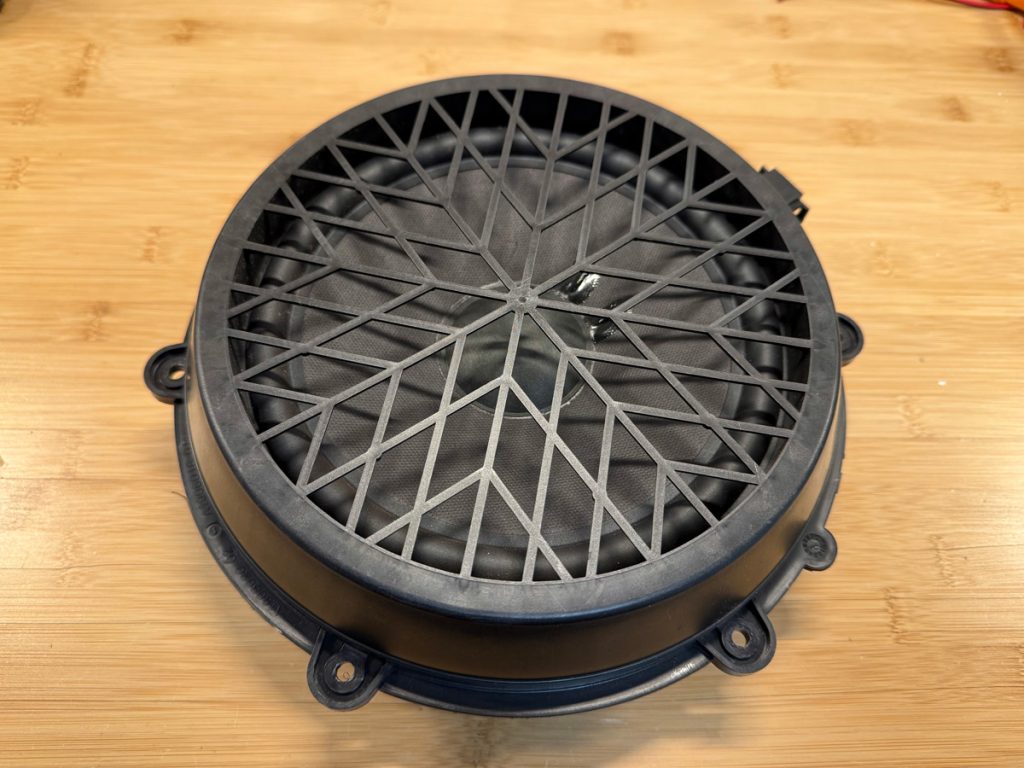
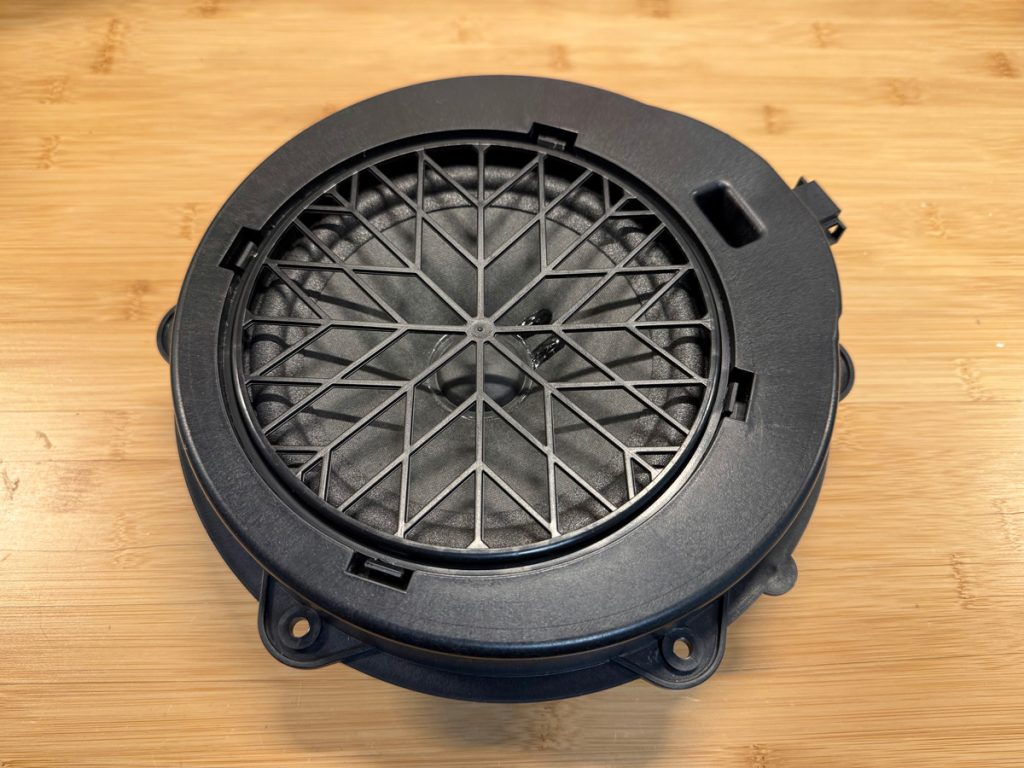
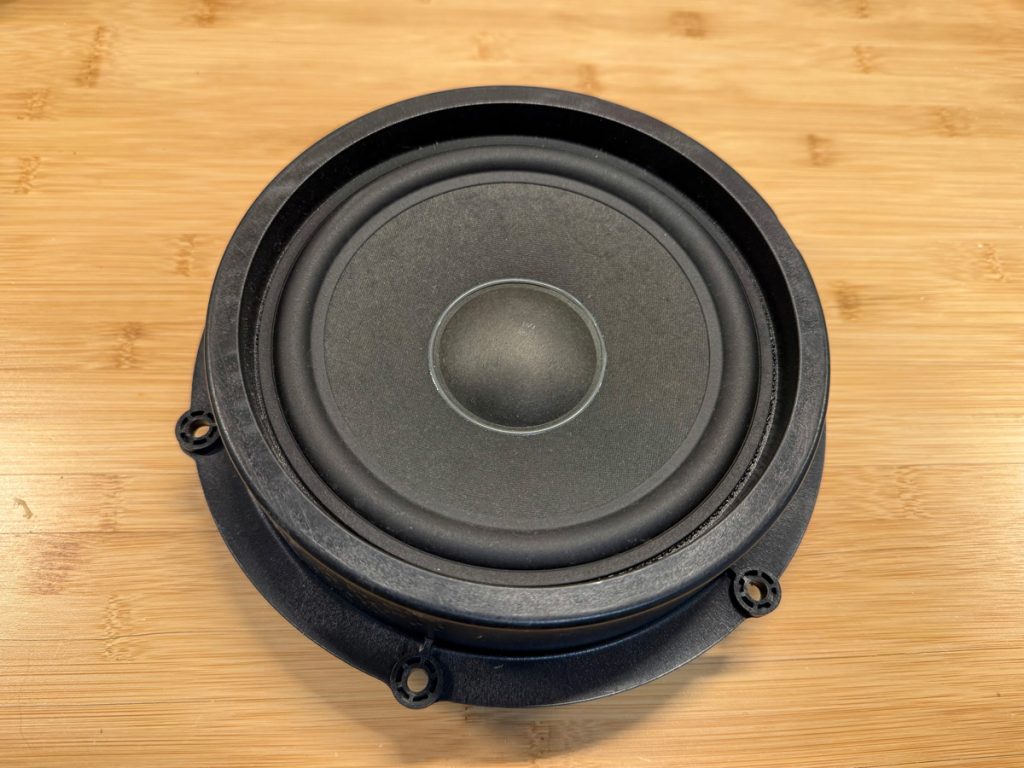
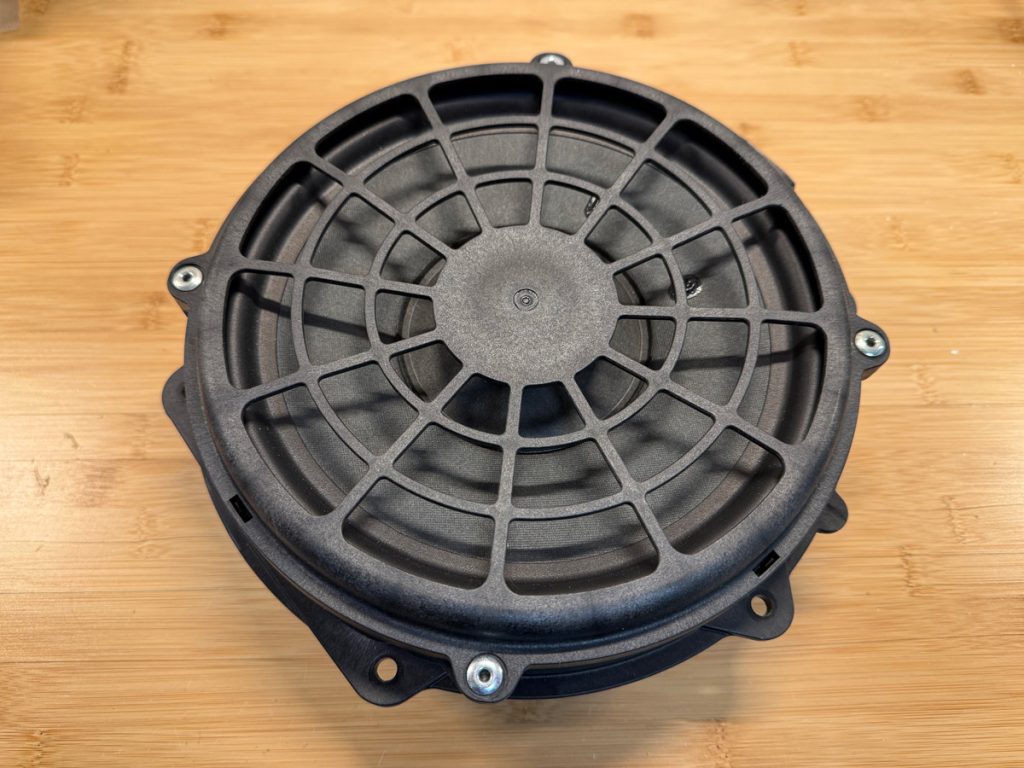
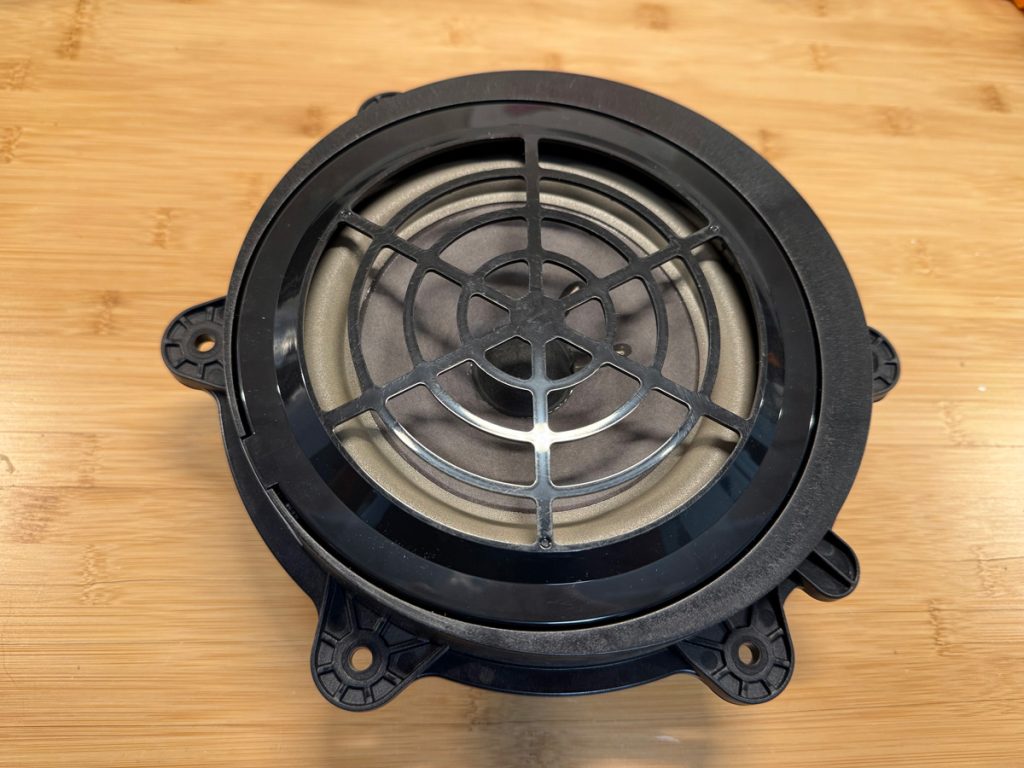
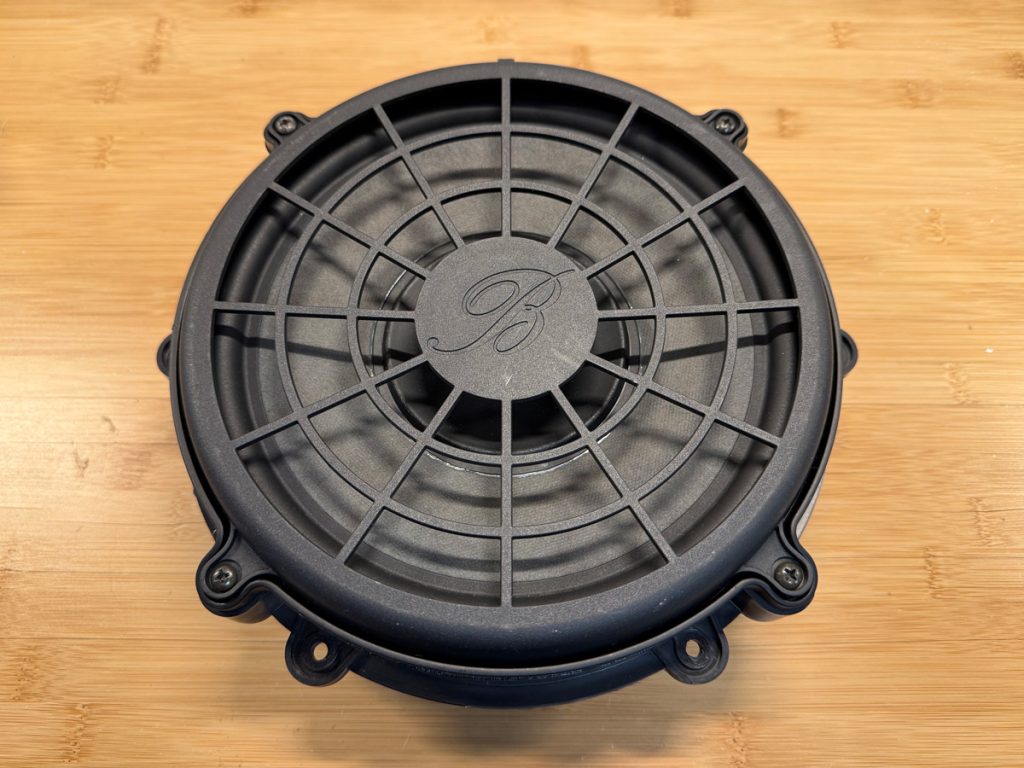
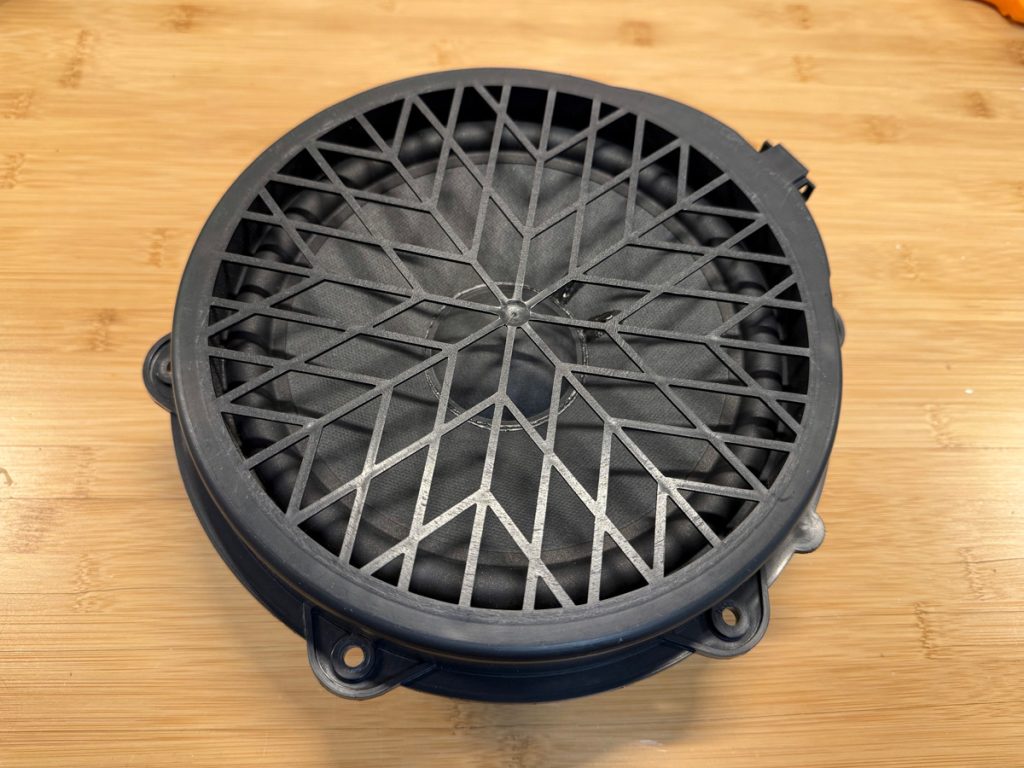
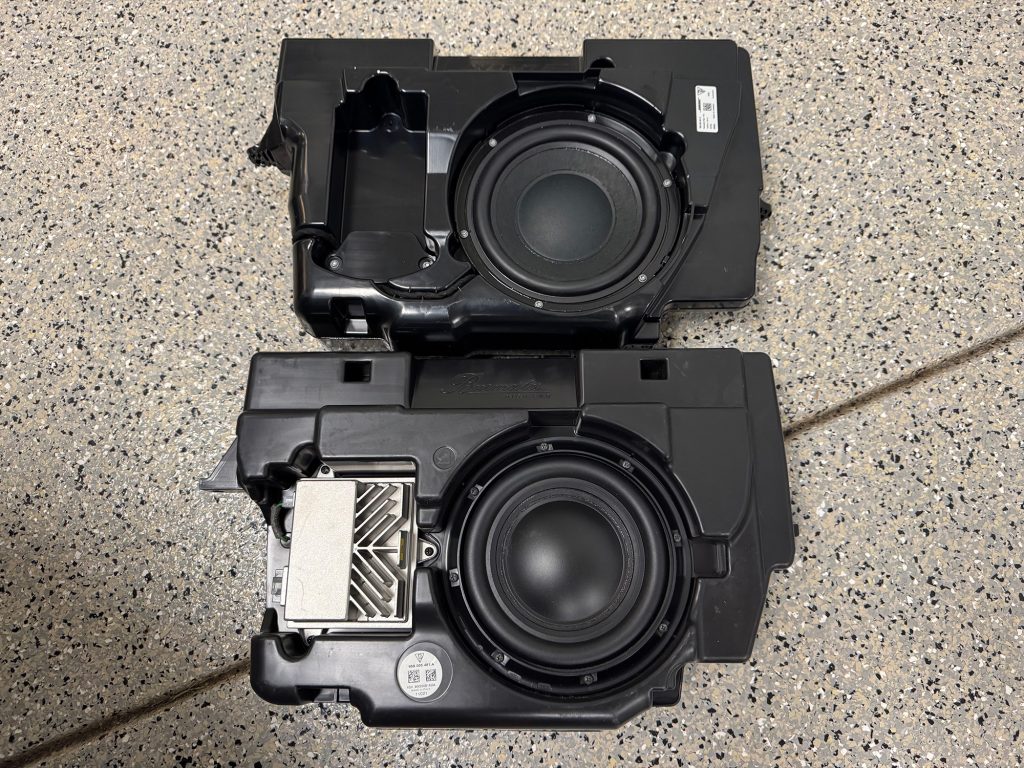
The Bose and Burmester subwoofers have similar form factors, but the box material is very different. The Bose is made from rather thin plastic which echos quite a bit when tapped on. The Burmester enclosure is much heavier and molded from much denser plastic material. Weight-wise, the Burmester is nearly twice as heavy!

Note: This picture shows the Burmester subwoofer (bottom) and newer Bose subwoofer (top) and which does not include an external amplifier. On the 2016 the Bose sub does feature an external amplifier – albeit a less powerful one (200 watts compared to 300 watts for Burmester).
The Bose and Burmester amp connections are different and we were able to source the correct connector for the Burmester amp. After pulling the fuse (25amp fuse 5C in the right rear area) the new connector was attached and snapped right into the more powerful Burmester amp before securing the enclose into the factory location.

Note: Directly in front of where the subwoofer fires (towards the rear of the car) there is a piece of plastic trim which is a bit floppy. This was causing some rattling even with the previous Bose sub, and adding a small amount of foam between the panel and the metal body fully eliminated this.
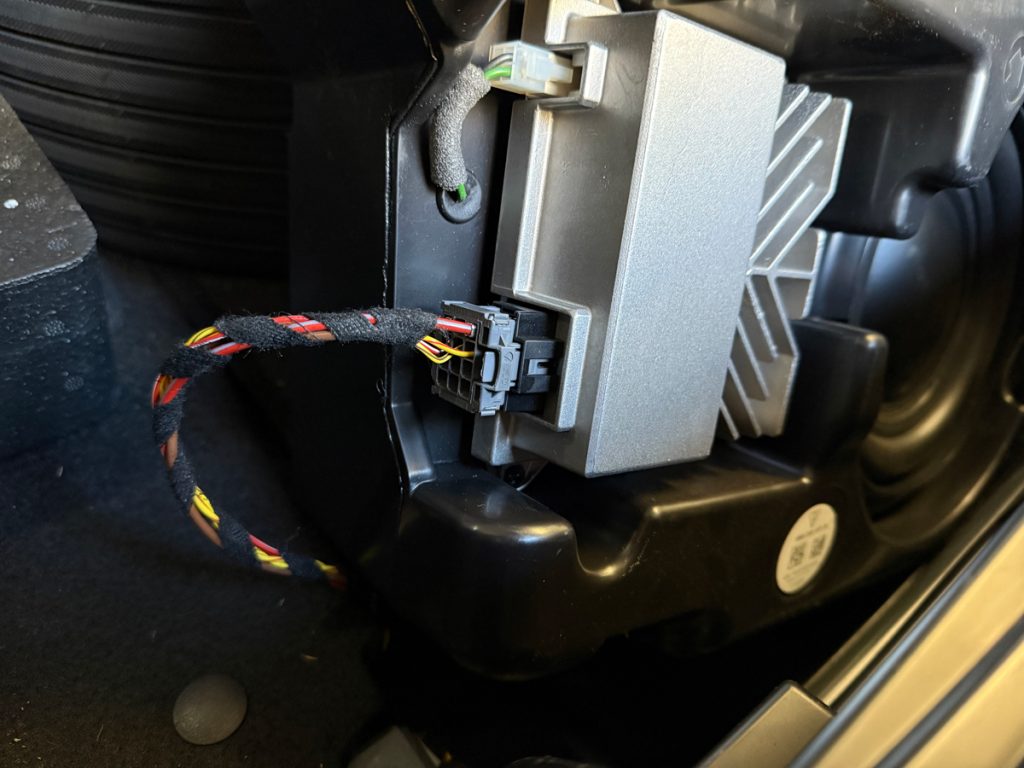
Porsche Burmester SubwooferUpgrade

Rear Midrange Surround

Just 2 speakers left to go…though these may be the most challening.

Removing the rear D Pillar trim in the Macan requires a fair amount of patience, and this post on MacanForum has a good overview of what this looks like.
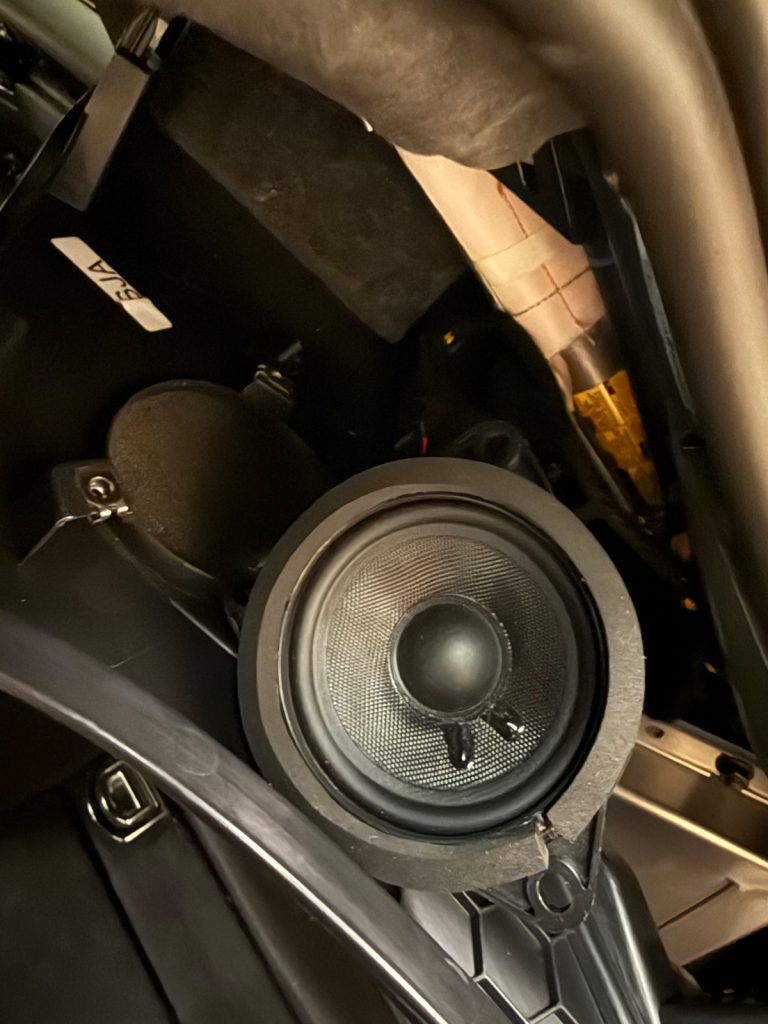
Porsche Burmester Midrange Surround Speaker Upgrade

After removing the Bose drivers, a bit of neoprene foam was added to the new Burmester drivers before securing them in place. Like other areas, the wire and connectors were wrapped and secured with cloth tape.

Note: On the 2015-2016 Macan the two surround speakers are wired on a single channel, and the driver’s side speaker is wired with reverse polarity by design. In our case it was decided both speakers should be wired with correct polarity, so the driver’s side wiring was reversed.
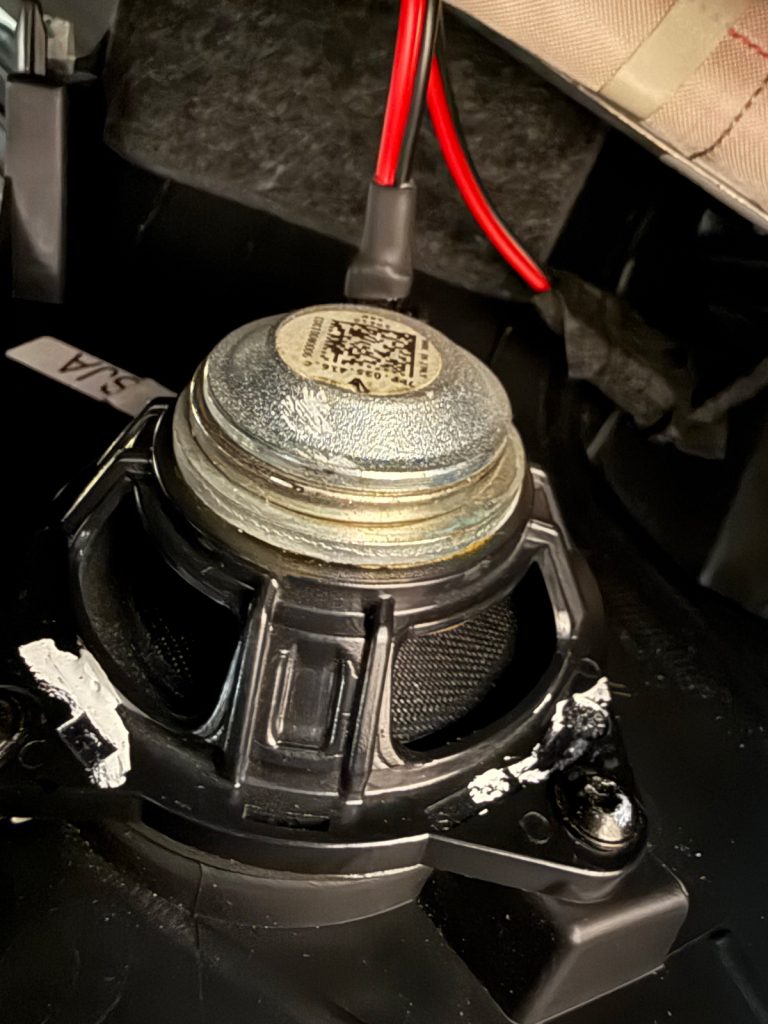
Porsche Burmester Midrange Surround Speaker Upgrade

Verdict

Was the upgrade worth it? Yes, most definitely!

The front sound stage with mids and tweeters are substantially more clear and crisp. It could be described as a fog being lifted and details that would be muffled or hidden before are now clearly heard.

The bass feels smoother and incredibly more rich and full. This is a big departure from the boomy bass but hollow bass that the stock Bose system exhibited.

The Burmester speakers seem to handle whatever power the stock Bose amp can throw at them, so volume-wise it’s possible to go much louder than before without dealing with the distortion issues that the previous Bose drivers started to exhibit at around 50% volume.

Overall, this is a fantastic upgrade option for those not looking to make dramatic changes to the car or spend the extra money for an aftermarket amplifier. Between using speakers with the same form factor combined with plug-and-play wiring Bose to Burmester upgrade wiring harnesses the installation is relatively straightforward, and can be completed in just a few hours with normal hand tools.

Sites like GetPorscheSilverSpringParts.com can be used to look up vehicle-specific part numbers and to purchase replacement Burmester drivers. Also, we often have gently used Burmester speakers listed on eBay which can make this an even more cost-effective upgrade.

Thanks for following along. Happy upgrading!

Posted on 2 Comments

Comparing Porsche Base, BOSE, and Burmester speakers

Porsche Burmester speakers

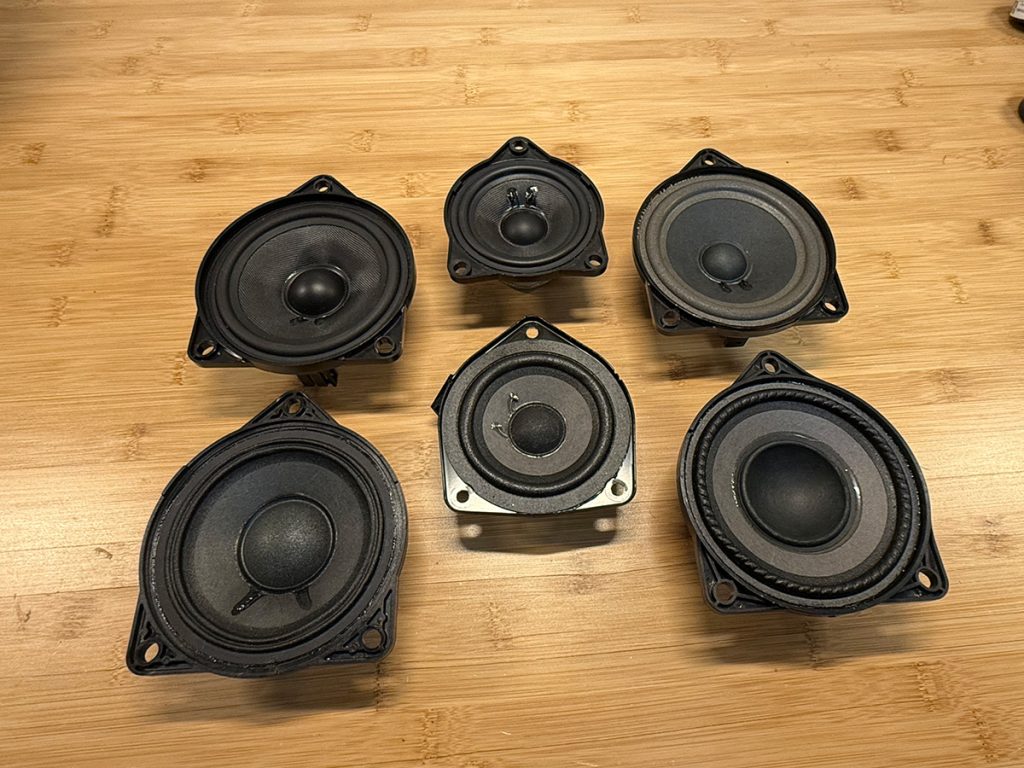
What are the differences between the Base, BOSE, and Burmester speakers in Porsche vehicles? Can a higher level speaker be installed for upgraded sound? Will the amp be compatible?

Porsche offers 3 different levels of speakers in their cars: Base (Sound Package Plus), High End (BOSE), and Top Premium (Burmester).

There are differences between each speaker type and here we’re going to explore the multiple factors that determines whether something can be a plug-and-play upgrade or not. First we will begin with a big one. Ohms!
Ohm… no, no we’re not doing yoga

‘Ohms’ is a term you may have heard used when looking at speakers specifications, and it’s a measure of the impedance – the electrical resistance for current flowing through a device.

The ohm (symbol: Ω, the uppercase Greek letter omega) is the unit of electrical resistance in the International System of Units (SI). It is named after German physicist Georg Ohm.

The ohm is defined as an electrical resistance between two points of a conductor when a constant potential difference of one volt (V), applied to these points, produces in the conductor a current of one ampere (A), the conductor not being the seat of any electromotive force.

– Wikipedia

In other words, the impedance (ohms) rating is what determines how much power a speaker may pull from an amplifier. For example, a speaker with a higher impedance rating will pull less power from an amplifier compared to a speaker with a lower impedance rating. Amplifiers usually don’t have fixed impedance ratings, but instead will support a range of values down to a minimum number (EG 2 ohm stable).

This means it’s generally fine to replace a speaker with one that has a similar or higher impedance rating, but installing one with a substantially lower rating could potentially be an issue (depending on what the amplifier is rated for). This is because lower impedance speakers may pull too much power causing the amp to do more than it was designed for.

Measuring a speaker’s exact impedance is a little challenging because this number can actually vary depending on the frequency the speaker happens to be playing at any given time. However, what we can easily measure is the DC resistance (Re) using a voltmeter. This won’t give us perfectly accurate impedance number, but it will provide something which can be useful as a reference when looking at how the original speaker stacks up against a potential replacement.

Whew! Now, with the science lesson out of the way let’s look at the different speakers to see how they compare.

Tweeters

Porsche has different tweeters for each level, and the premium Burmester level comes in 2 different form factors. One rectangle AMT ribbon type for the front dash and a round dome type another for the rear.

Construction

The Base and BOSE versions are similar in size and construction. Depending on the year, each may include a capacitor to act as a low-pass filter. The round Burmester tweeter is substantially larger than the other two, and case for the AMT version is made from milled aluminum with a brushed finish.

Specifications (measured)

Base
  • Driver size: 1 in
  • Weight: 33g
  • DC resistance (Re): 3.4 ohm
Bose
  • Driver size: 1 in
  • Weight: 42g
  • DC resistance (Re): 3.4 ohm
Burmester (front)
  • Driver size: 1.75 in
  • Weight: 197g
  • DC resistance (Re): 6.0 ohm
Burmester (rear)
  • Driver size: 1.25 in
  • Weight: 50g
  • DC resistance (Re): 4.0 ohm

Installation notes

  1. The form factor for all 3 round versions are identical so they can be swapped into the OEM locations (front and rear) without issue.
  2. Installing the larger rectangle version into a space which originally held a round version is possible by removing the small plastic retainer which holds the round tweeter. While the removal of the retainer is straightforward, reinstalling it is a little trickier so for all intents and purposes this should be considered non-reversible modification.
  3. The Base and BOSE tweeters (in many model years) include a capacitor which acts as a “first order” crossover to filter out lower frequencies. This is needed as the tweeter and midrange are run off the same channel and this crossover prevents lower frequencies from reaching the tweeter and causing potential damage. If your existing tweeters have capacitors present you should look at using them with the new tweeters as well.
  4. The connectors between all 3 tweeters are similar enough they can be easily modified to be interchangeable. Wiring adapters can also be used to avoid any such modification (and also ease the addition of a crossover, if needed).

Midrange & surround

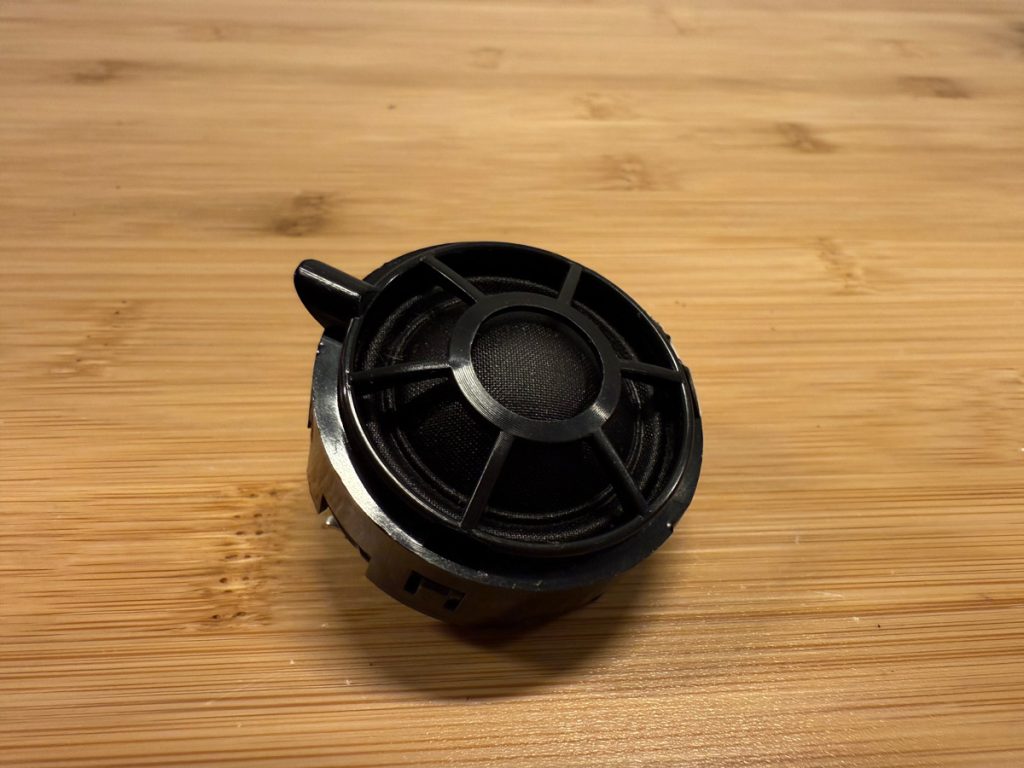
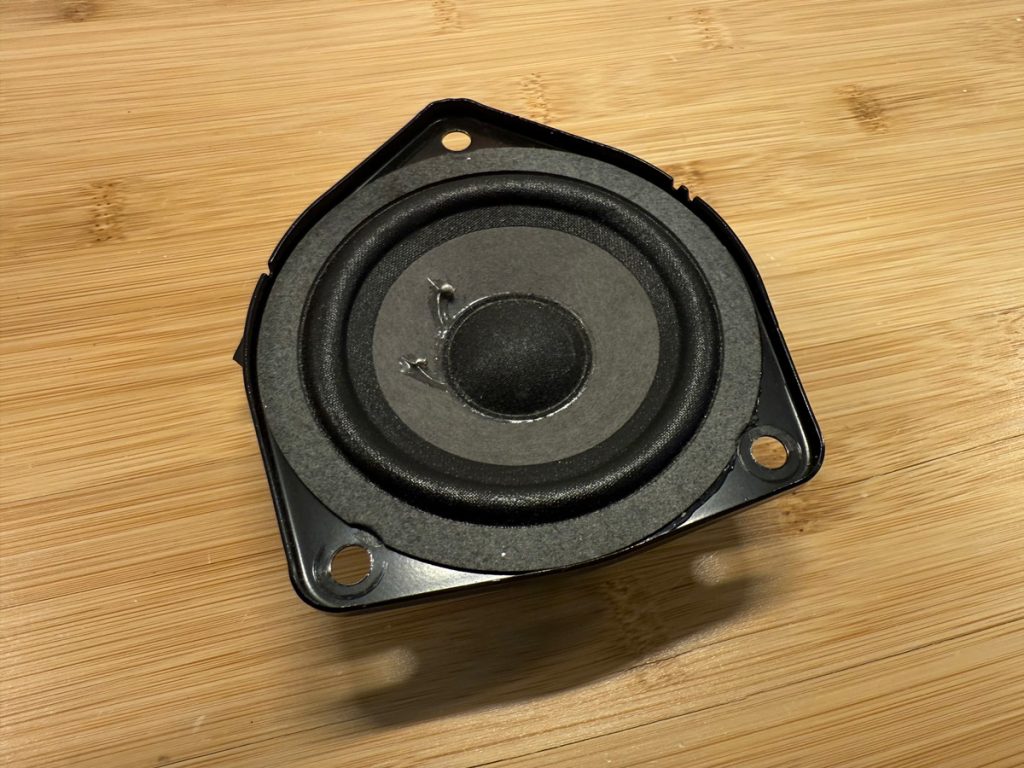
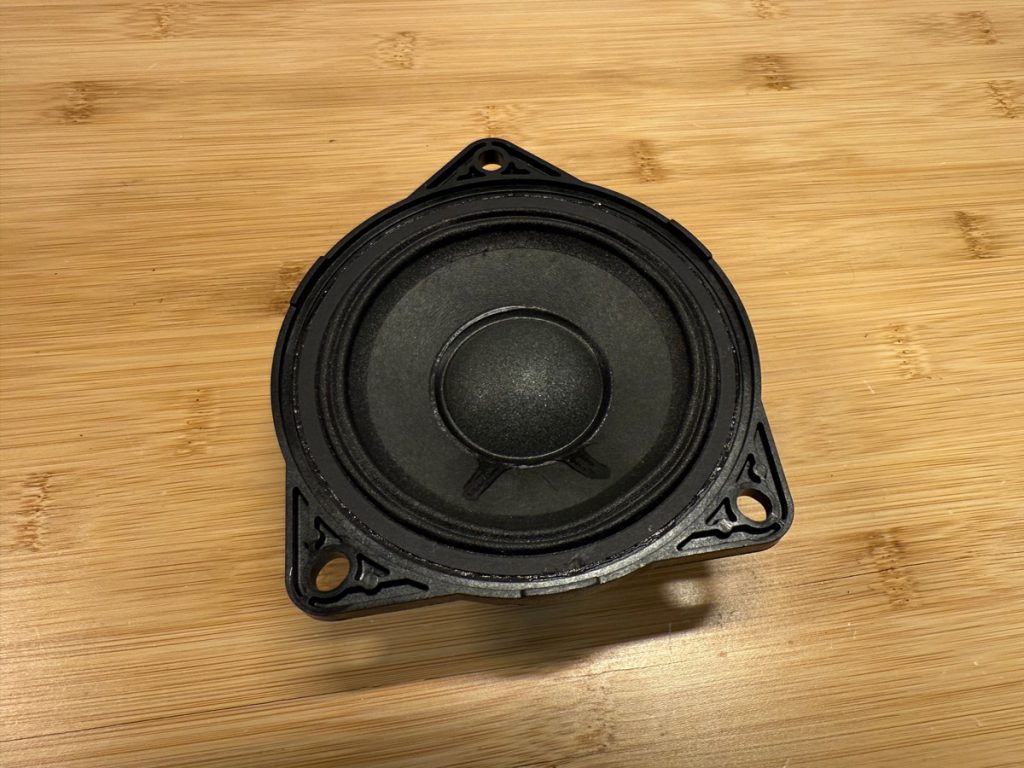
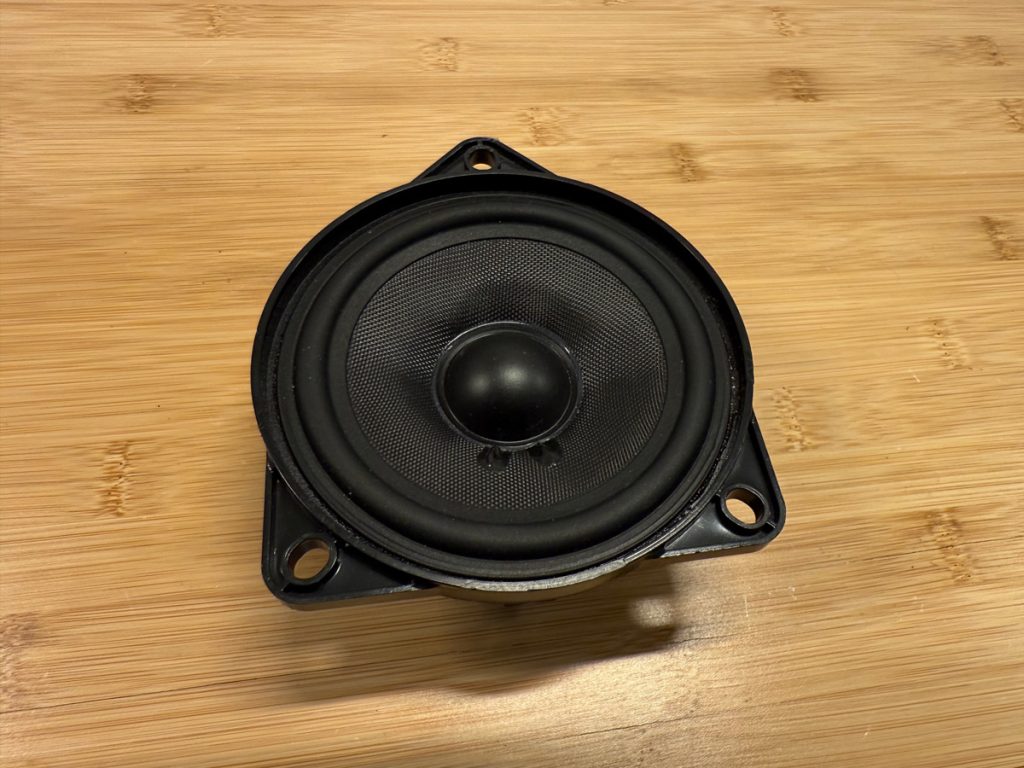
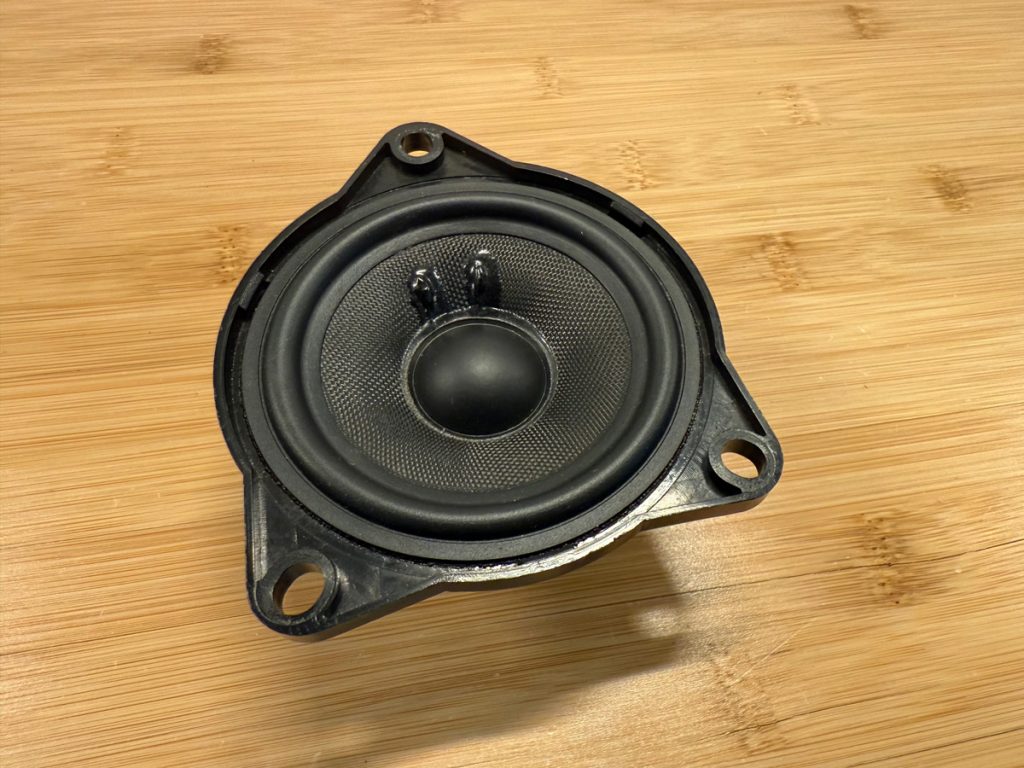
The midrange drives for each level include both a full midrange for the door as well as smaller center and surround midranges which are a bit smaller.

Construction

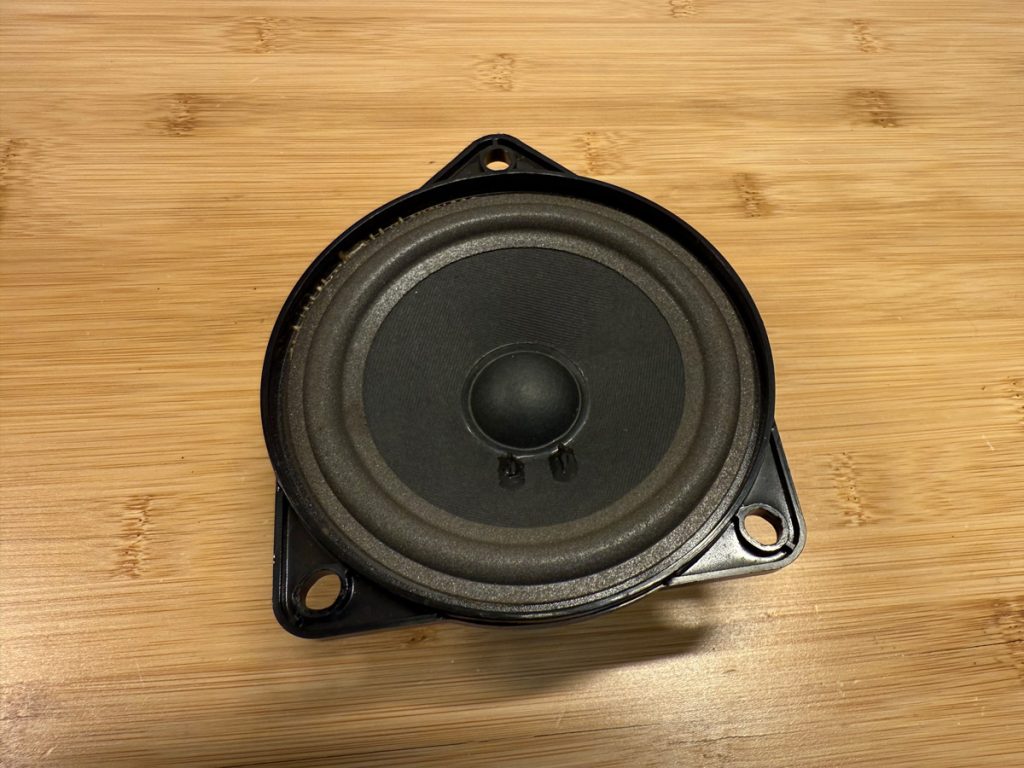
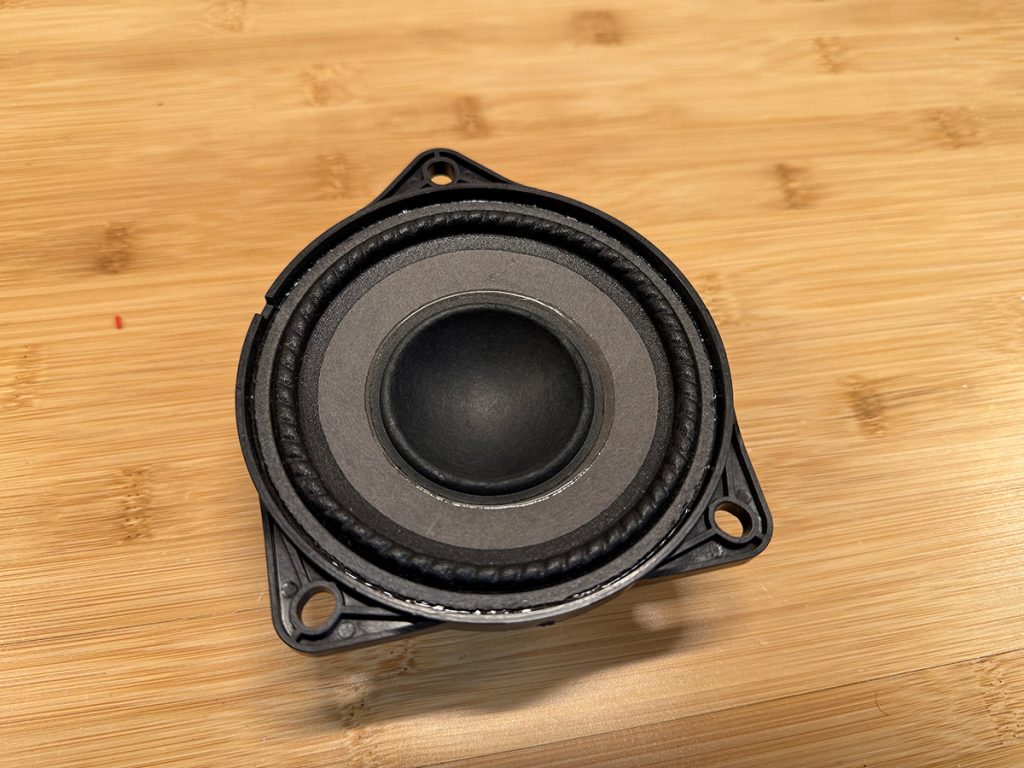
The Base version is made from low-density foam and paper cone. The BOSE version also uses a paper cone but includes a much larger magnet and a high quality foam surround. Burmester features a much higher quality rubber surround and woven fabric cone.

Specifications (measured)

Base
  • Driver size: 3.5 in
  • Weight: 125g
  • DC resistance (Re): 6.9 ohm
Bose (pre-2019 front)
  • Driver size: 3.5 in
  • Weight: 373g
  • DC resistance (Re): 2.1 ohm
Bose (pre-2019 center/surround)
  • Driver size: 2.75 in
  • Weight: 164g
  • DC resistance (Re): 3.5 ohm
Bose (2019+ center)
  • Driver size: 3.5 in
  • Weight: 212g
  • DC resistance (Re): 2.0 ohm
Burmester (front)
  • Driver size: 3.5 in
  • Weight: 202g
  • DC resistance (Re): 2.7 ohm
Burmester (center/surround)
  • Driver size: 2.75 in
  • Weight: 196g
  • DC resistance (Re): 2.8 ohm

Installation notes

  1. The form factor for all 3 versions are identical so they can be swapped into the OEM locations without issue.
  2. The connectors on all 3 versions are different so it’s best to use wiring adapters to avoid any cutting of the original vehicle wiring.

Woofer (mid-bass)

Woofers for each level come in both front and rear versions for Porsche’s 4 door variants. The Base and BOSE versions both use undersized woofers in the rear, whereas Burmester takes full advantage of the available space.

Construction

Like the midrange drivers, Base and BOSE both use foam surrounds and paper cones. Burmester also uses a form of paper cone here, but includes much higher quality rubberized foam surround material.

Specifications (measured)

Base (front)
  • Driver size: 7 in
  • Weight: 855g
  • DC resistance (Re): 2.2 ohm
Base (rear Macan/Panamera)
  • Driver size: 5.8 in
  • Weight: 400g
  • DC resistance (Re): 3.7 ohm
Base (rear 2011-2018 Cayenne)
  • Driver size: 6 in
  • Weight: 452g
  • DC resistance (Re): 3.7 ohm
BOSE (pre-2019 front)
  • Driver size: TBD
  • Weight: TBD
  • DC resistance (Re): TBD
BOSE (2019+ front)
  • Driver size: 8 in
  • Weight: 825g
  • DC resistance (Re): 3.2 ohm
BOSE (rear)
  • Driver size: 5.8 in
  • Weight: 400g
  • DC resistance (Re): 2.2 ohm
Burmester (front)
  • Driver size: 8 in
  • Weight: 1038g
  • DC resistance (Re): 1.9 ohm
Burmester (rear)
  • Driver size: 7 in
  • Weight: 848g
  • DC resistance (Re): 2.1 ohm

Installation notes

  1. The form factor for all 3 versions are identical so they can be swapped into the OEM locations without issue.
  2. On some Panamera models the speakers are secured with rivets instead of normal bolts. This requires extra work to remove and replace.
  3. The connectors on all 3 versions are different so it’s best to use wiring adapters to avoid any cutting of the original vehicle wiring.

Conclusion

There are certainly some big differences between the different levels of OEM Porsche speakers, and swapping some lower level speakers to a higher level could provide a substantial upgrade in sound.

Have you swapped out your lower level Porsche speakers for a better type? If so, share how things went in the comments.

Posted on 1 Comment

Retrofitting PCM 4 and CarPlay in a 95B.1 Porsche Macan

Porsche Macan PCM 4 and CarPlay upgrade retrofit

Introduction

CarPlay is something Porsche added in 2017 in most of their cars. With this Macan being a 2016 it just missed the cutoff.

There are various aftermarket options for retrofitting CarPlay while keeping the PCM 3 unit in place (JoyeAuto, Isudar, Mr12Volt, etc…) but all of them have quirks and caveats that make each a less than ideal solution. Additionally, the PCM 3 screen is fairly low resolution and has a very rudimentary touchscreen that doesn’t mesh particular well with the controls used by CarPlay.

Instead, we’ll be moving forward with retrofitting the original PCM 4 system from the 2017-2018 Macan!

The PCM 4 retrofit has been done by a handful of people in the 911, 981, Cayenne, and other cars which originally came with PCM3(.1), but there hasn’t been much activity with the Macan specifically.

The existing Bose amplifier won’t be usable with the new PCM, as PCM 3 uses MOST25 optical whereas PCM 4 uses the newer MOST 150 spec. The goal is to try and replace the factory Bose amplifier with the updated version to keep everything as factory as possible.

Assembling the kit

There are quite a few parts required for the retrofit, and it pays to have everything ready ahead of time. Some of the items were sourced new while some of the other bigger ticket items were found on eBay to keep the total cost down.

A PIWIS 3 setup will also be required to handle the firmware updates and coding. It’s unlikely a dealer would ever be able/willing to help with this since the process has not been documented by Porsche…so thankfully we are able to stand on the shoulders of giants here.

Parts list

Starting the process

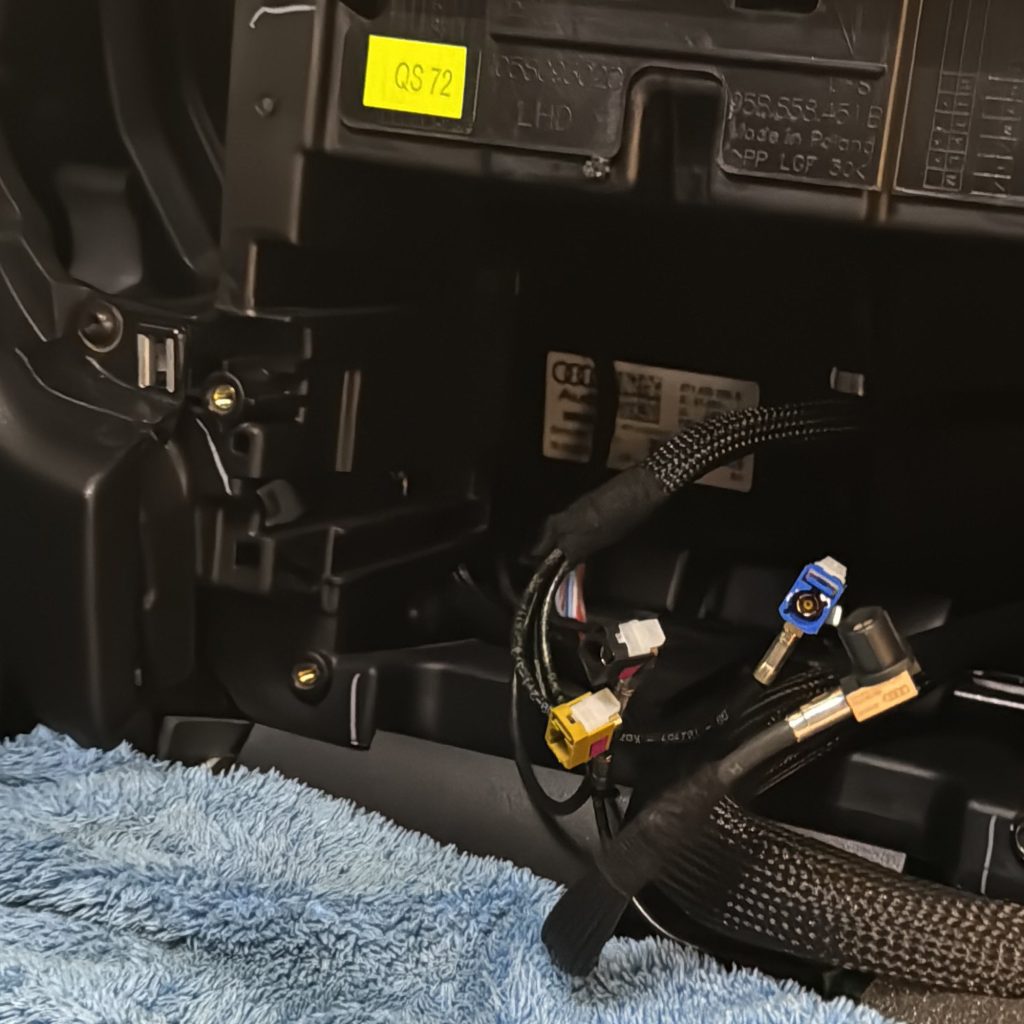
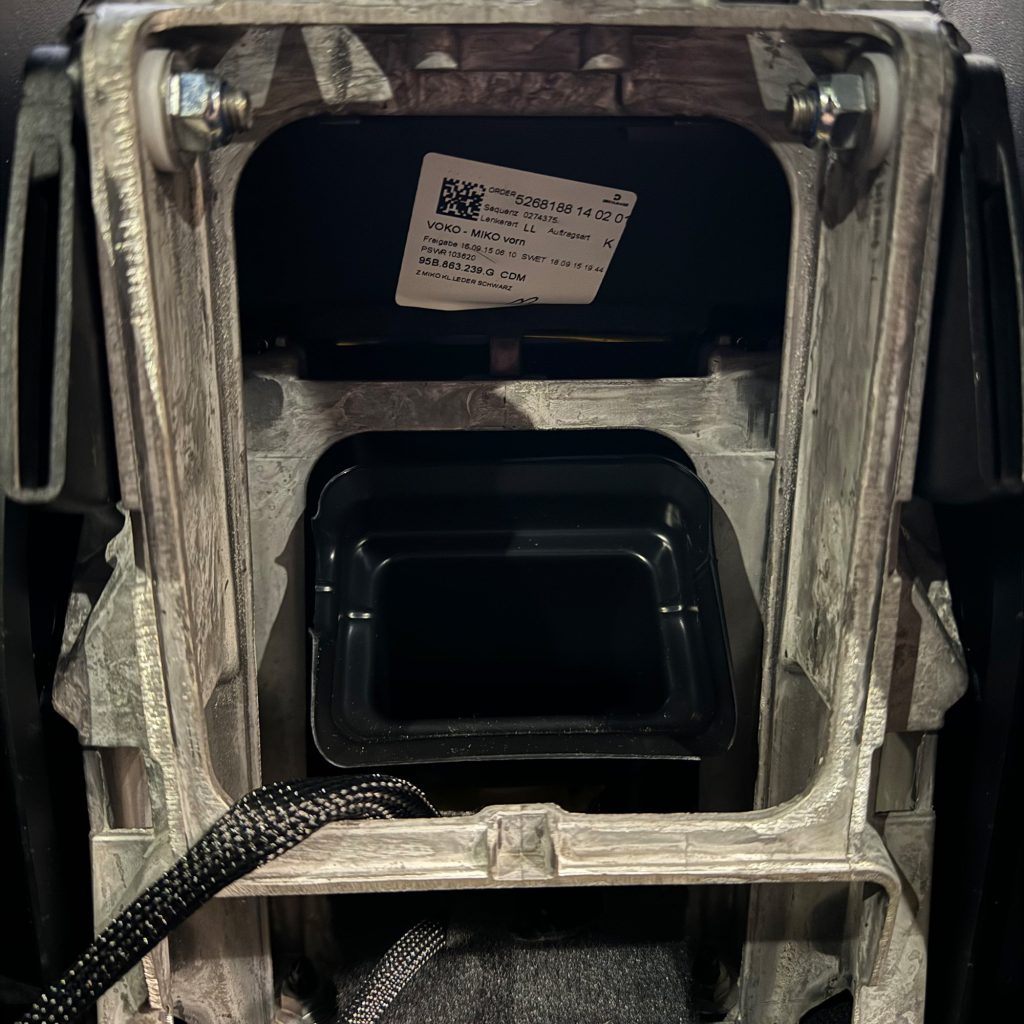
First step was to remove the air vents and get the physical PCM 3 unit out, and swap in the PCM 4 unit. This was all fairly straightforward which leaves us with an empty hole with some wires sticking out.

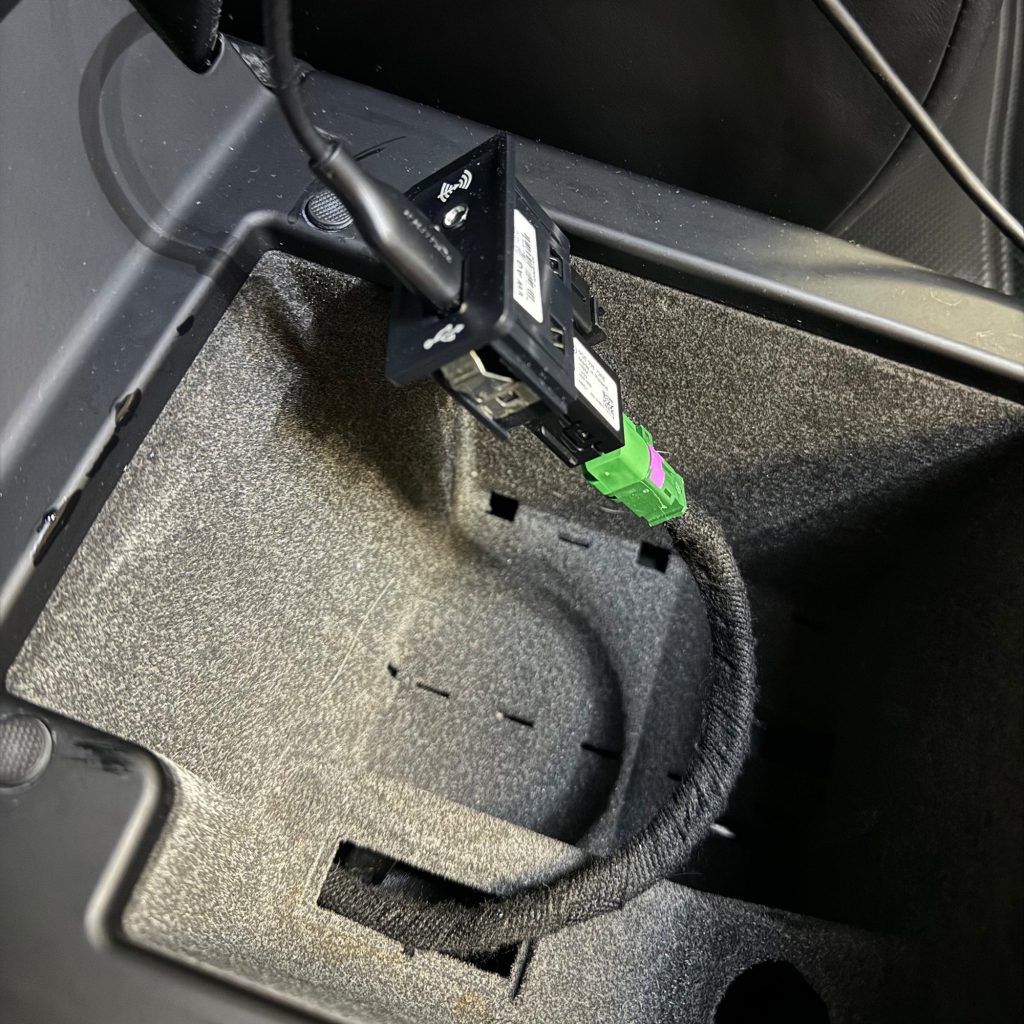
The trickiest part of the physical install is the removal of the center console storage which is required in order to replace the USB port. This meant taking the rear vents off as the center console top is snapped into the vent tube running to the back. This tube has a lot of flex so you need to physically hold it down in order to get the clips to release.

An alternative here would be to run the new USB cable to the glovebox which spot for the USB port which can be easily cut/snapped out. This is sort of a personal preference on where you want it. Some cars may have USB ports in both places…but this requires adding an extra USB hub module.

Once the center is out we can route the new USB cable and connect the new plug.

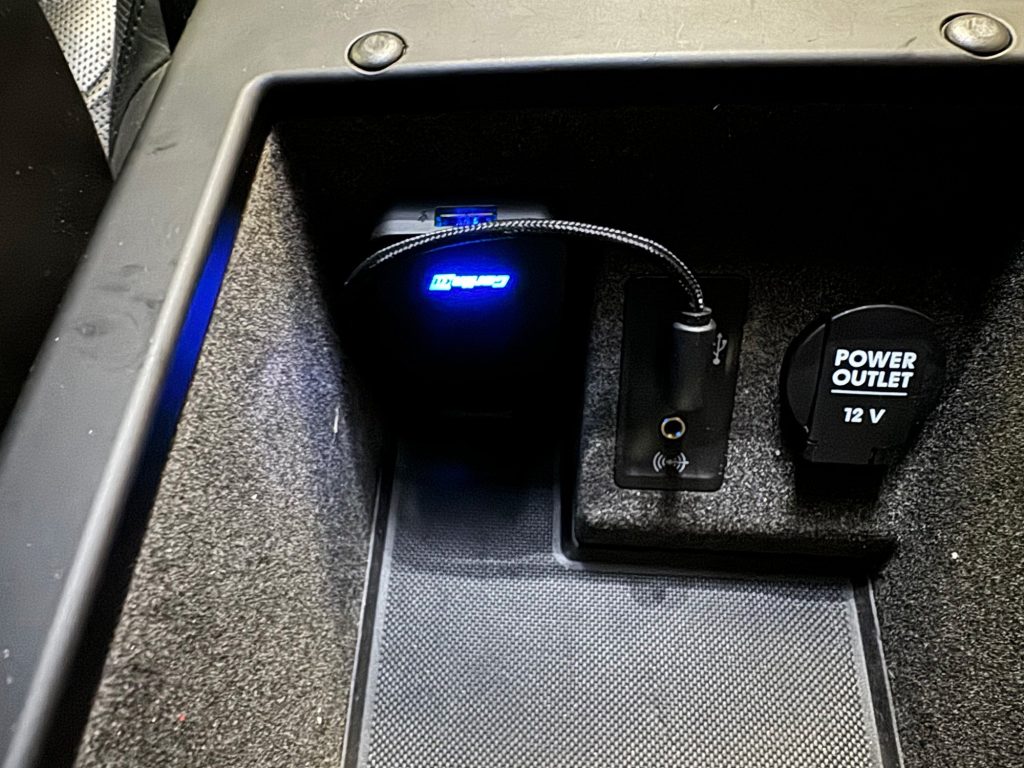
Note: In this Macan the center console storage had the USB port pointing straight up, with the 12v outlet at an angle. This does not have enough clearance for the new style USB plug, so a newer stye storage compartment was ordered which has both on an angle. PN 95B-857-232-C

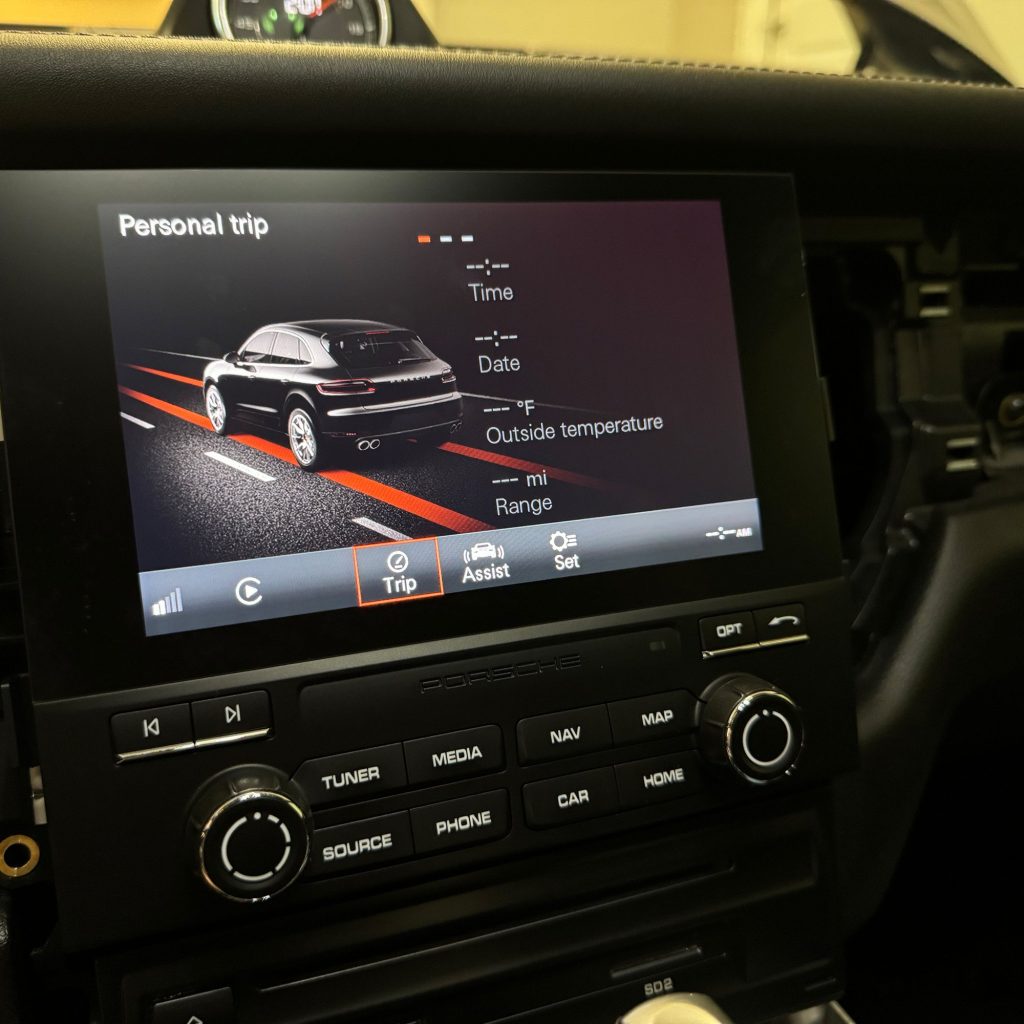
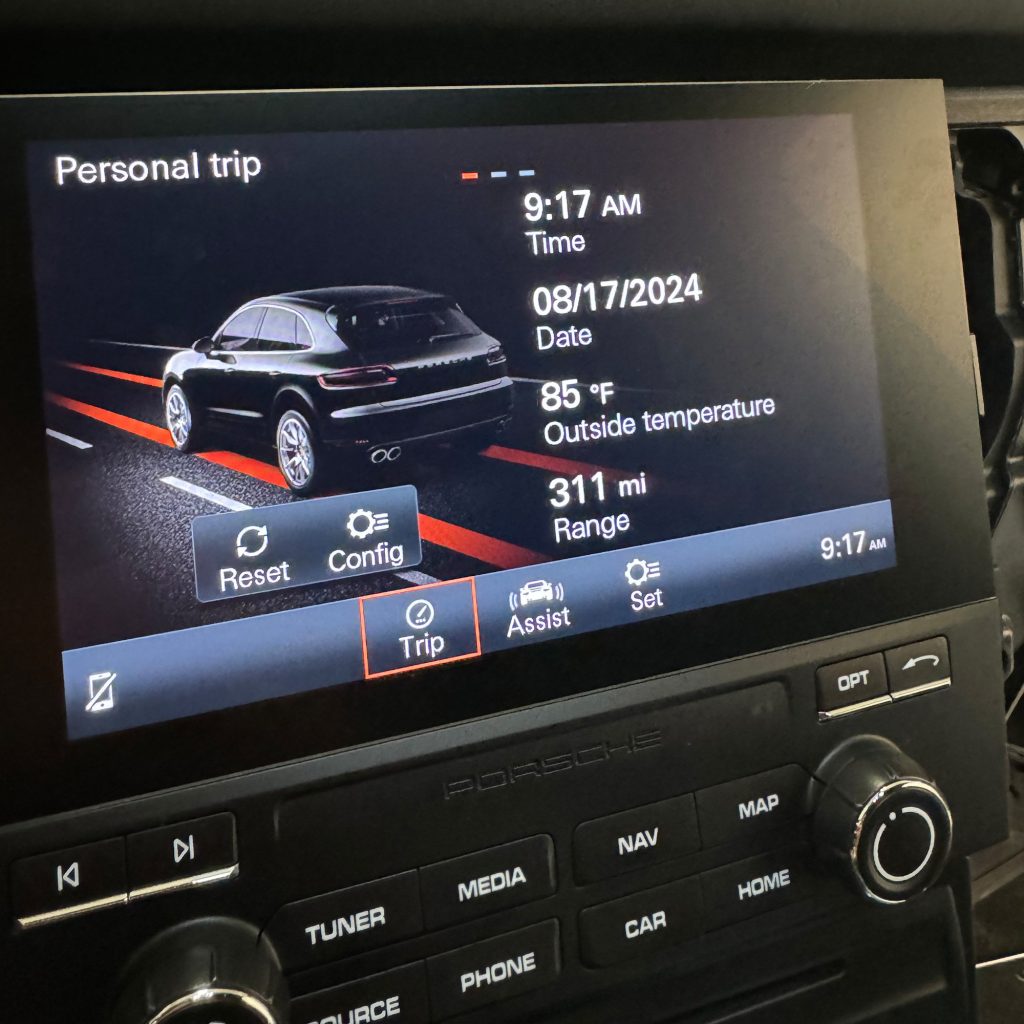
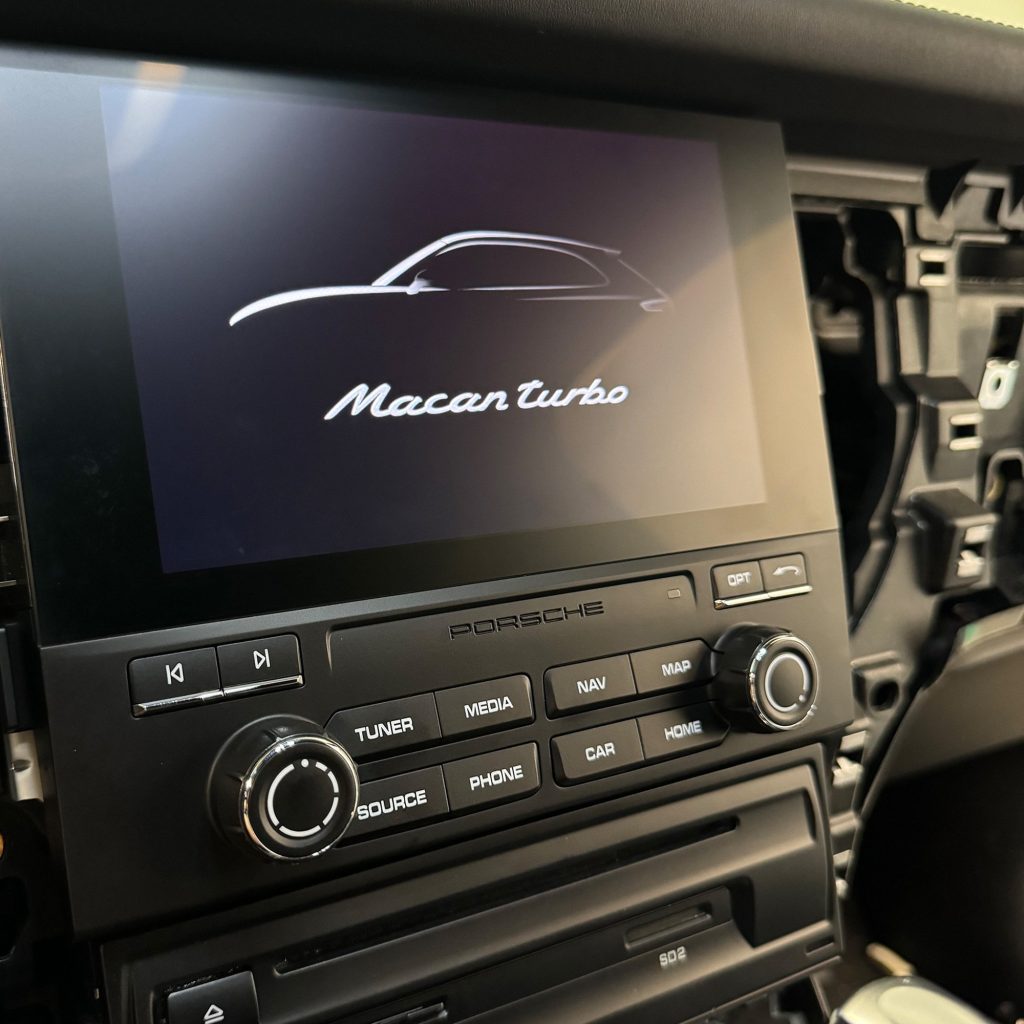
PCM4 is in and powered up! 🤩

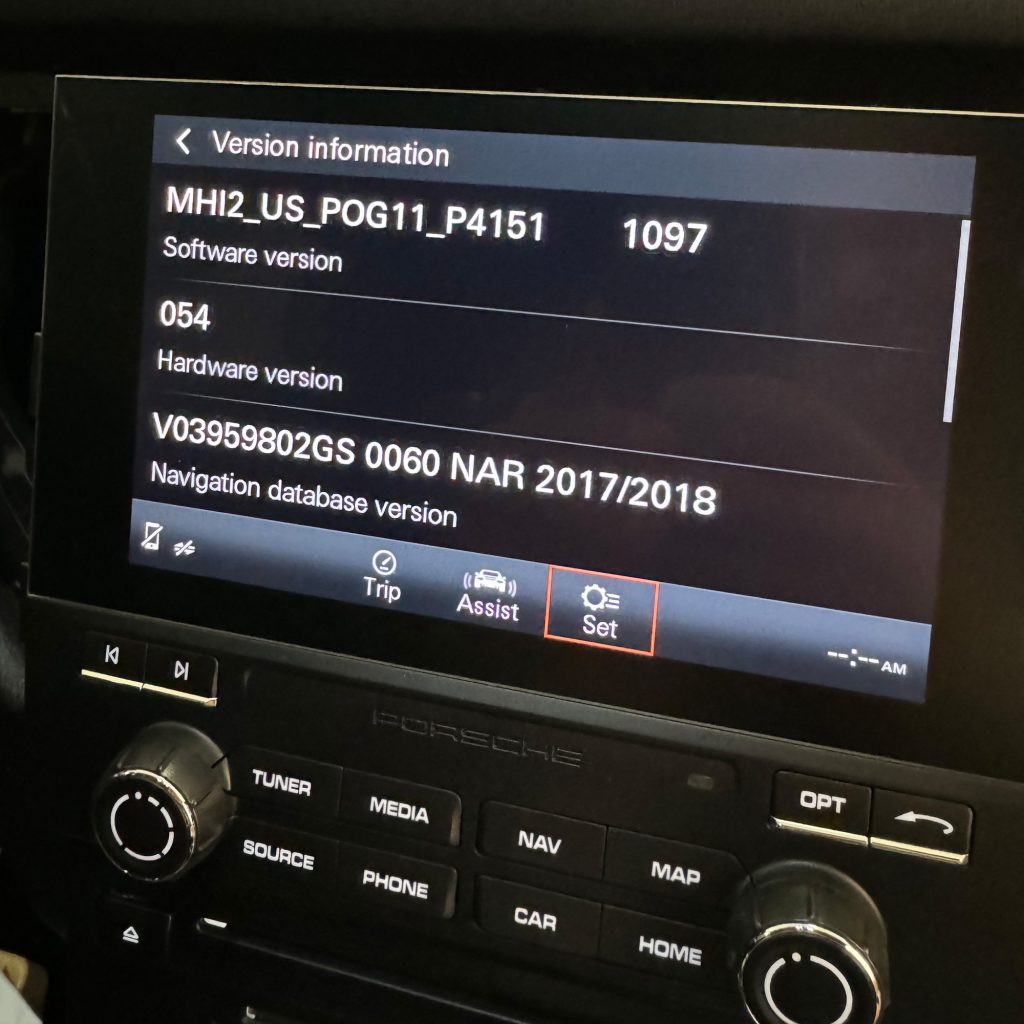
Time to run MIB to update software and enable features.

We are in business! 🙌

The PCM4 screen is a huge upgrade over the old one.

PCM is not talking to cluster yet, but we can fix this.

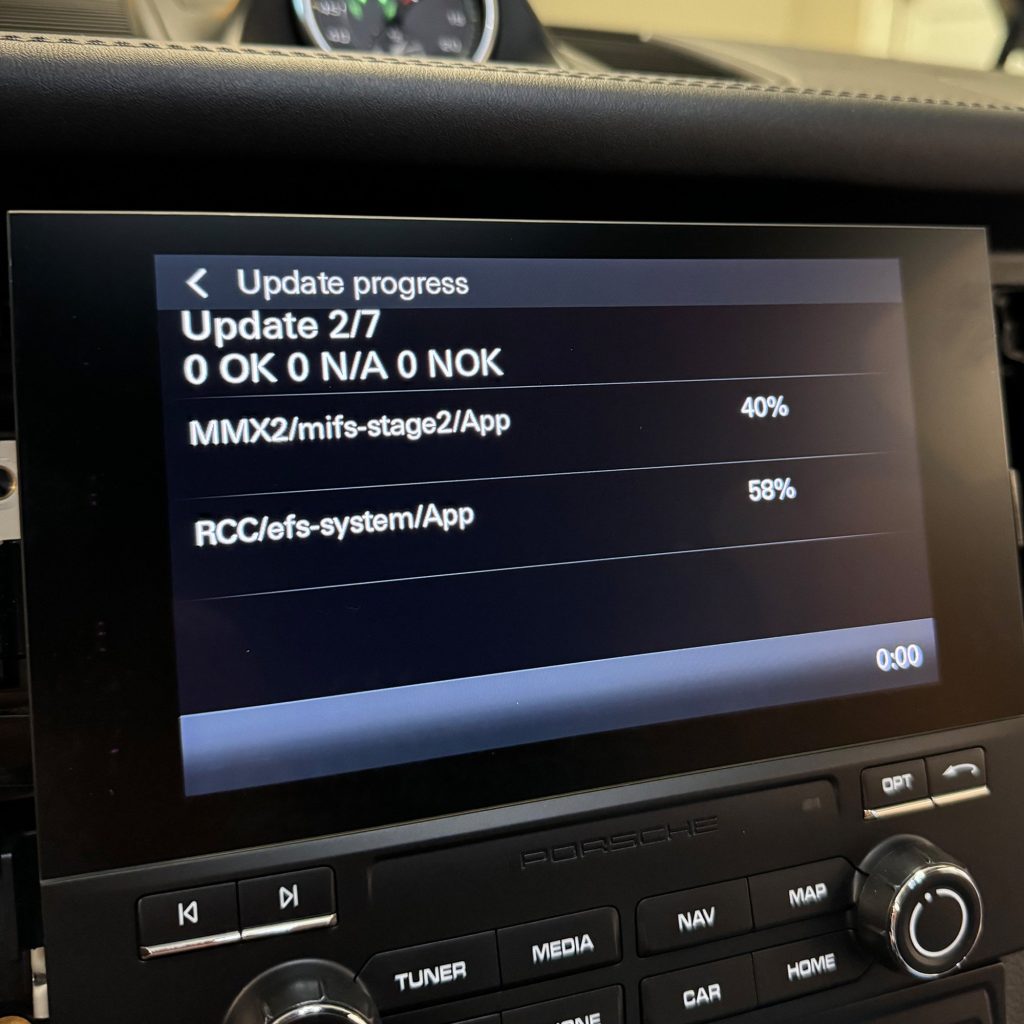
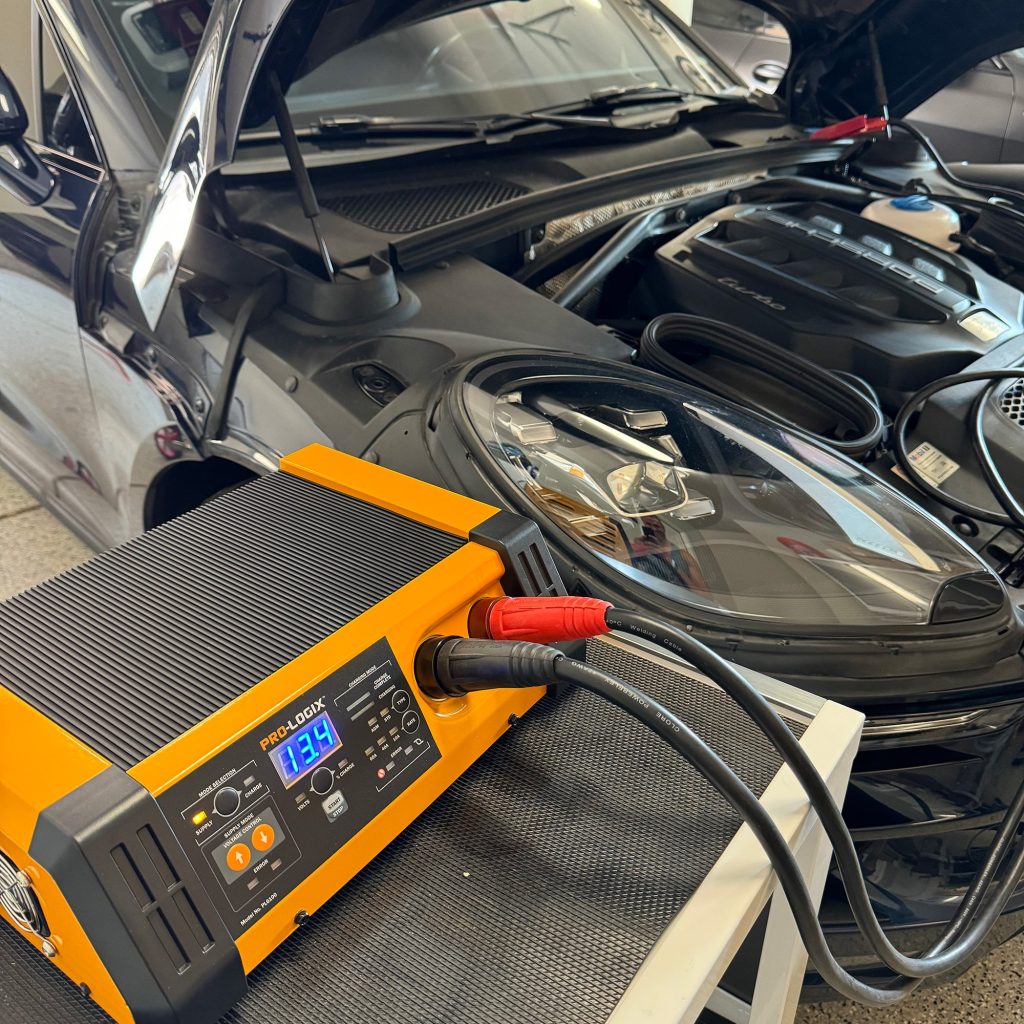
Time to hook up the charger and fire up PIWIS.

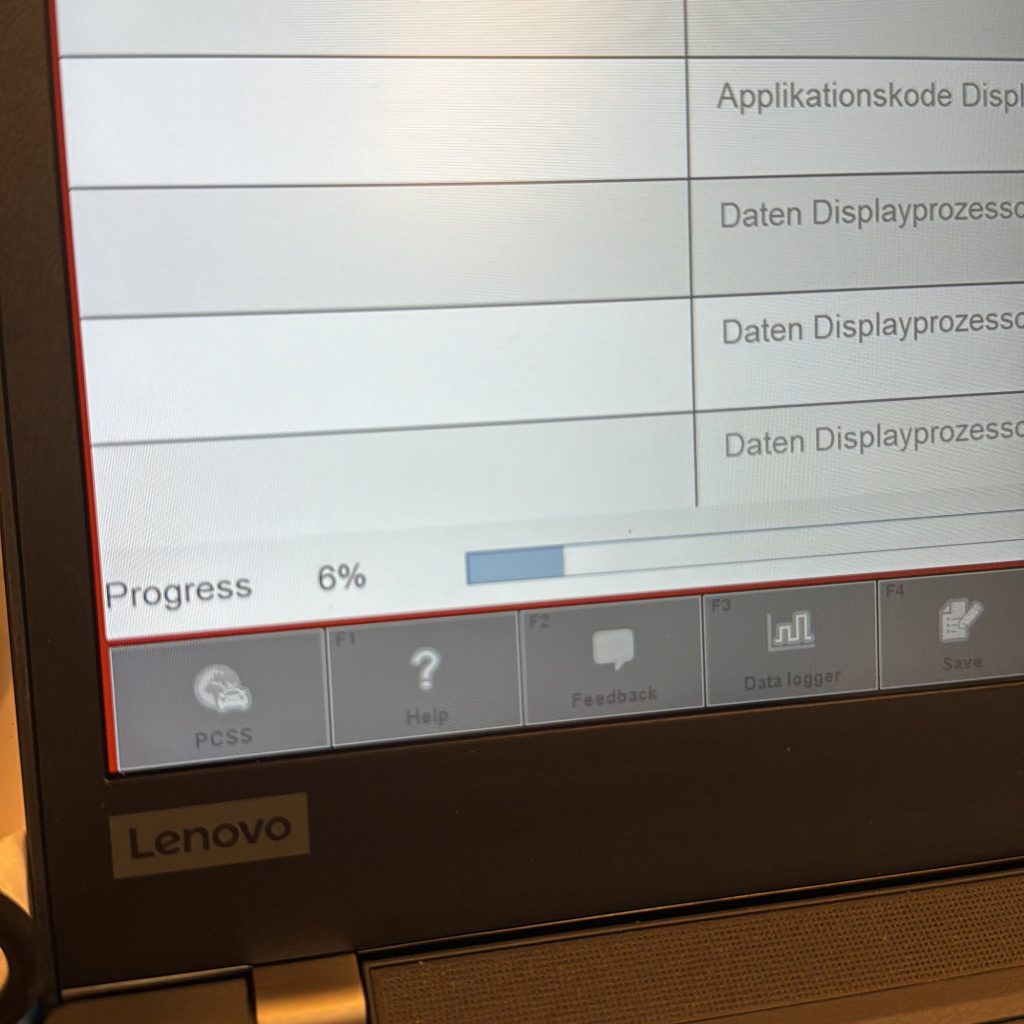
Yep, 3.1 is too old. We need 3.3.

In progress…time to go get coffee.

~20 min later and the cluster and PCM are now best friends.

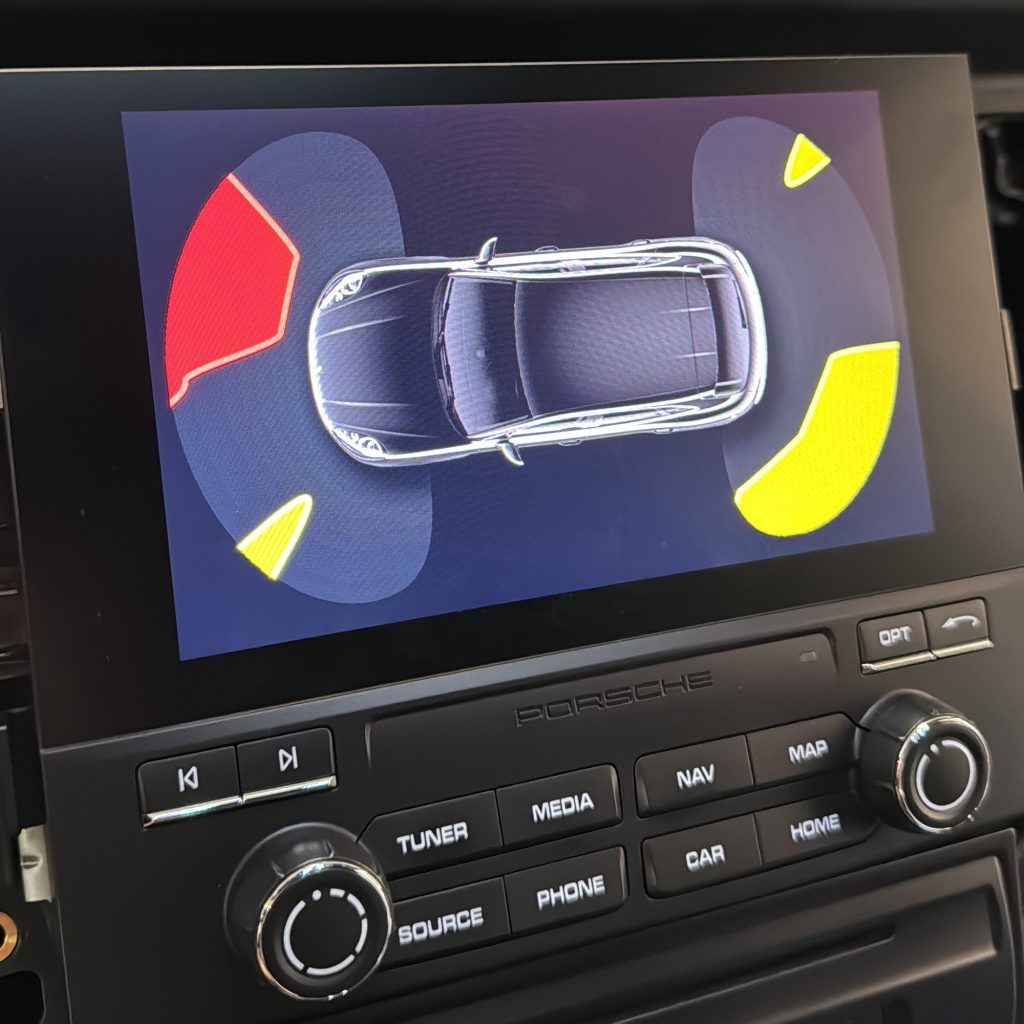
Looking good, but the parking cameras are no longer working. 🤔

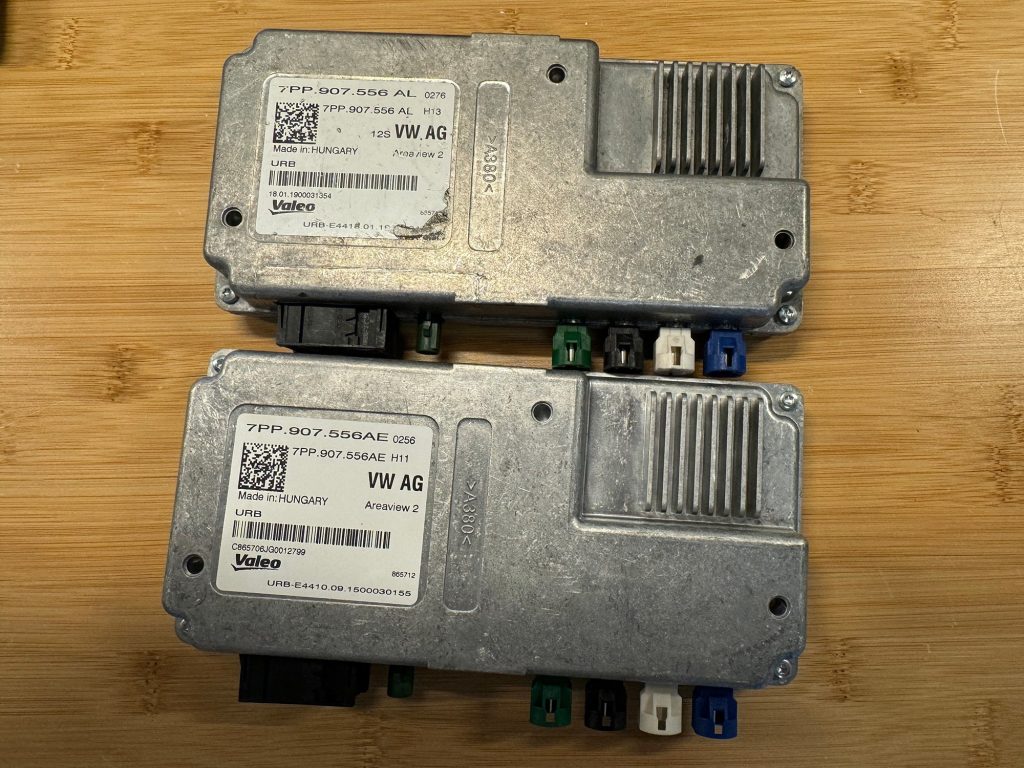
It turns out we need to also swap the Topview camera module with a newer version.

The newer style module looks exactly the same, but has a revised letter ending. It’s not clear if there are hardware differences here or if it’s just firmware. PIWIS actually has the newer version of firmware present, but there were too many unknowns about the hardware it didn’t make sense to try and flash the old module.

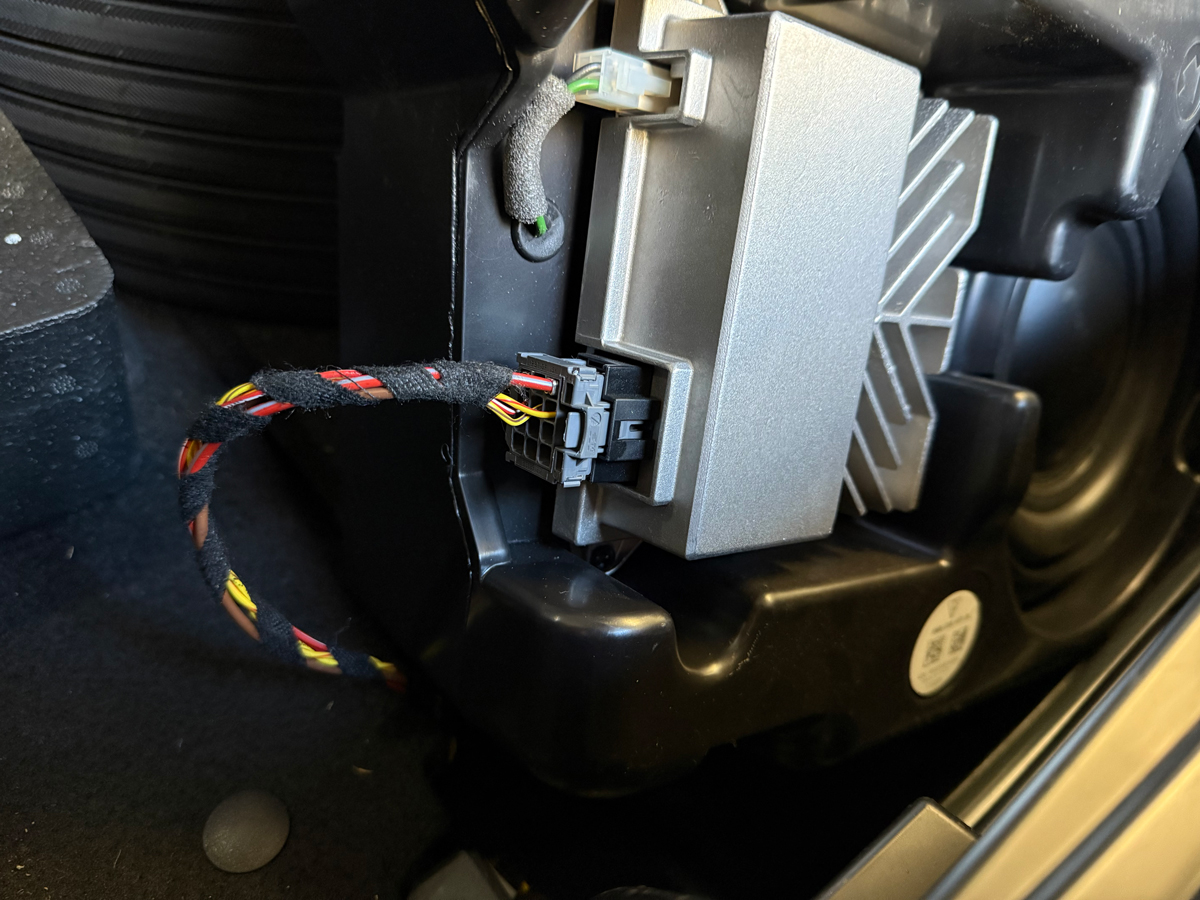
The surround camera module is located directly behind the Bose amp in the driver side rear quarter panel. It’s fairly easy to access and within a few minutes the swap is done.

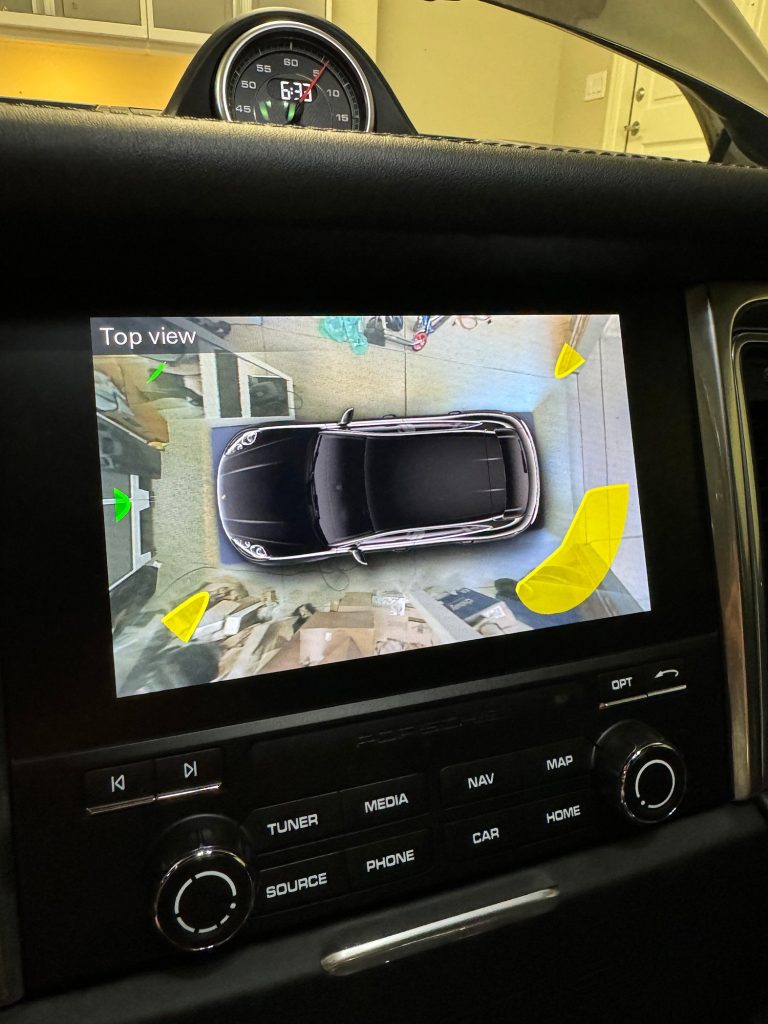
Time to head back to the driver’s seat and hold your breath while putting the car into reverse…

SUCCESS!!! 🙌

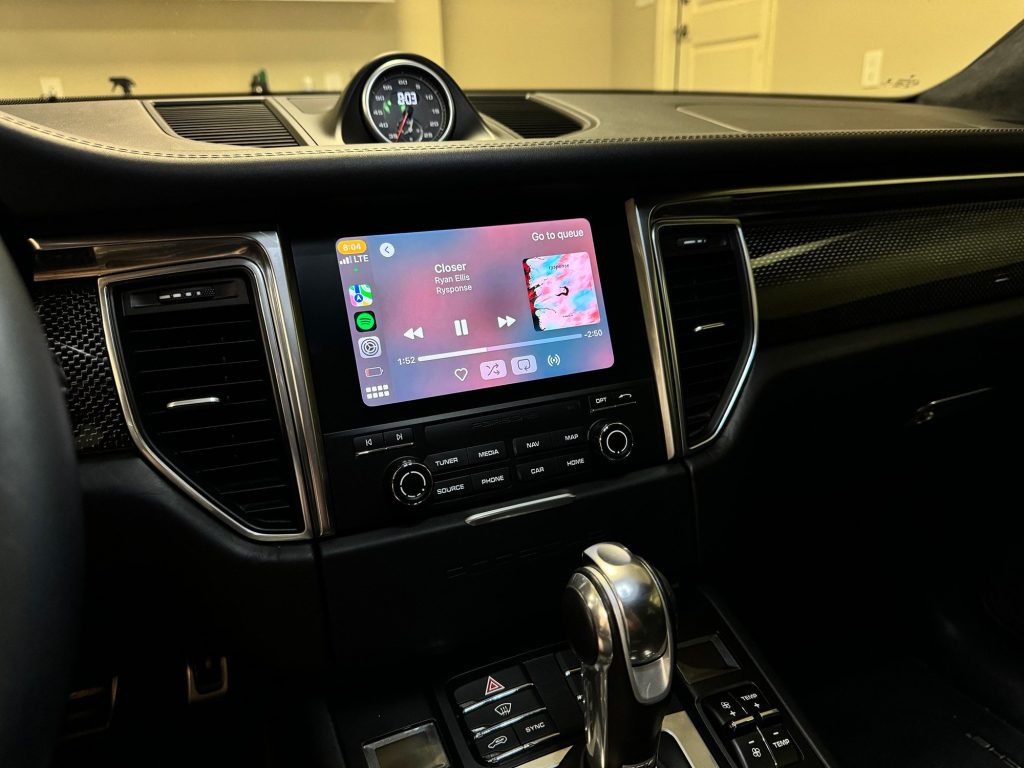
PCM 4 is now fully installed and working in the Macan! 🤩

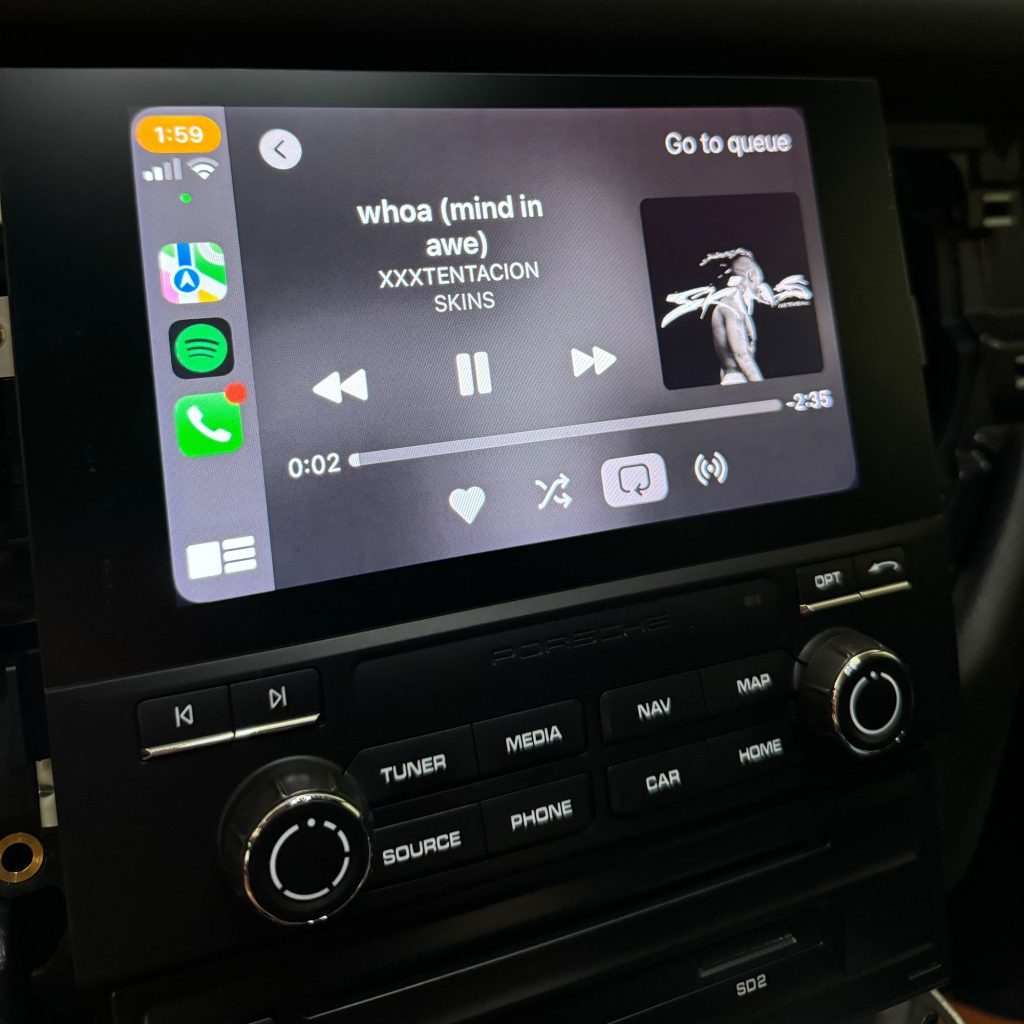
This is a very factory setup and all systems work as they did before. CarPlay connects automatically within about 10s of starting the car, steering wheel volume controls and joker button (to skip tracks) both work, and the car’s GPS works flawlessly for CarPlay.

After clearing the faults via PIWIS (originally caused by disconnecting and reconnecting modules) there are no errors or warnings anywhere in the cluster or PCM.

Note: There are lots of wired –> wireless CarPlay modules on the market, but Carlink 5.0 is the only one that allows you to continue using the car’s GPS antenna for navigation. This helps dramatically with saving your phone’s battery life.

Finally, the audio…

The original plan was to swap the factory Bose amp with a newer version which would work with the new PCM. Sadly this turned out to be a no go due to Porsche’s built in Component Protection feature. Component Protection is something that can be disabled by a qualified service center, but in this case the 2016 model is not on Porsche’s list of approved models so the process stops before it even starts.

Without disabling Component Protection, the amp outputs fuzzy audio out of the left speakers when playing music, but works flawlessly from all speakers when making phone calls. There are also errors in PIWIS confirming CP is in fact enabled.

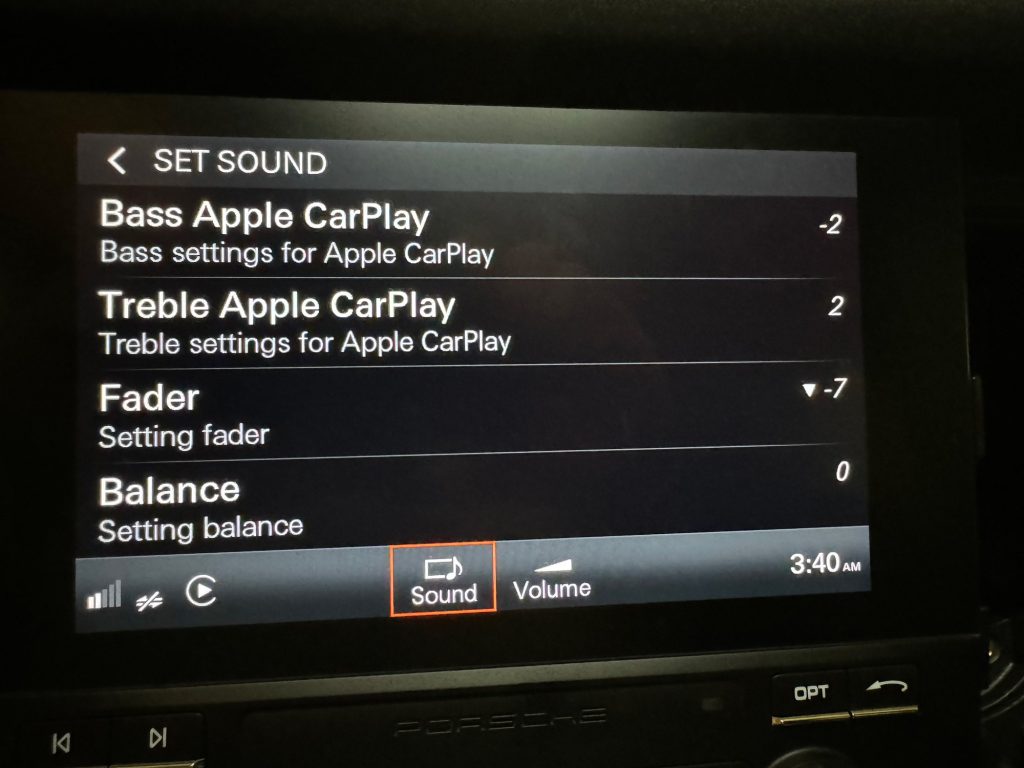
The fallback option for now is to use the included optical converter box. This setup is ok and with a bit of tuning is probably fine for anyone who wants to keep costs down when doing a retrofit like this. There are some tuning options available within PIWIS to adjust the output levels which can help. There were some adjustments made here, but the easiest option to get decent sound was to reduce the bass and adjust the fader so output wasn’t quite so high before it got to the converter box. With this, the system sounds pretty good unless you get the volume up to very loud levels. This could likely be improved further with more adjustments fiddling in PIWIS.

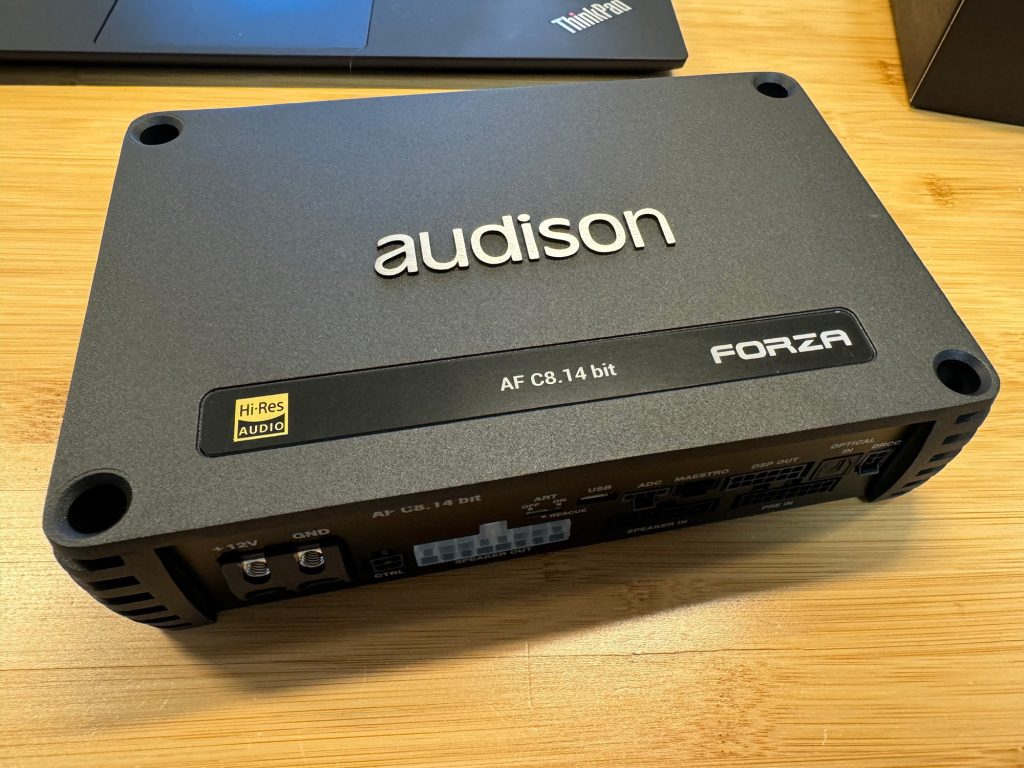
However, the goal is to keep a fully digital audio pipeline, so now the next step is to move forward with installing a replacement Audison amplifier. 🙂

Coming up next…